Skip to content
MOUNT HARVEY
MOUNT HARVEY
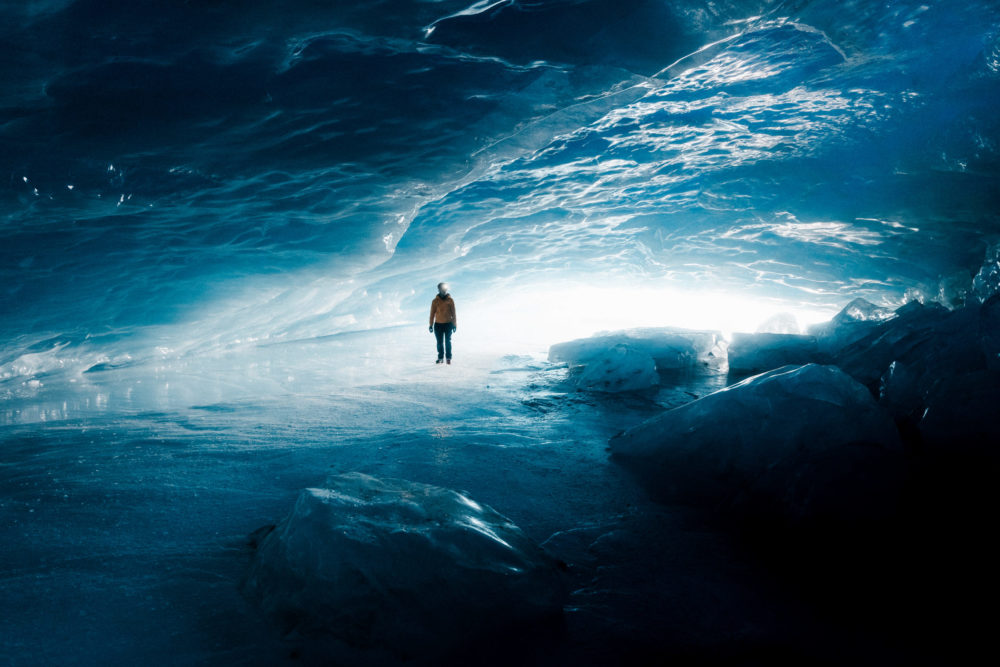
A winter trek up a snowcapped mountain with surreal views
The trail details provided below is from my own Garmin GPS watch recording. All information listed is based on ONE-WAY information to the destination, unless labeled.
Trail Name
Mount Harvey Trail
Mountain Name
Mount Harvey
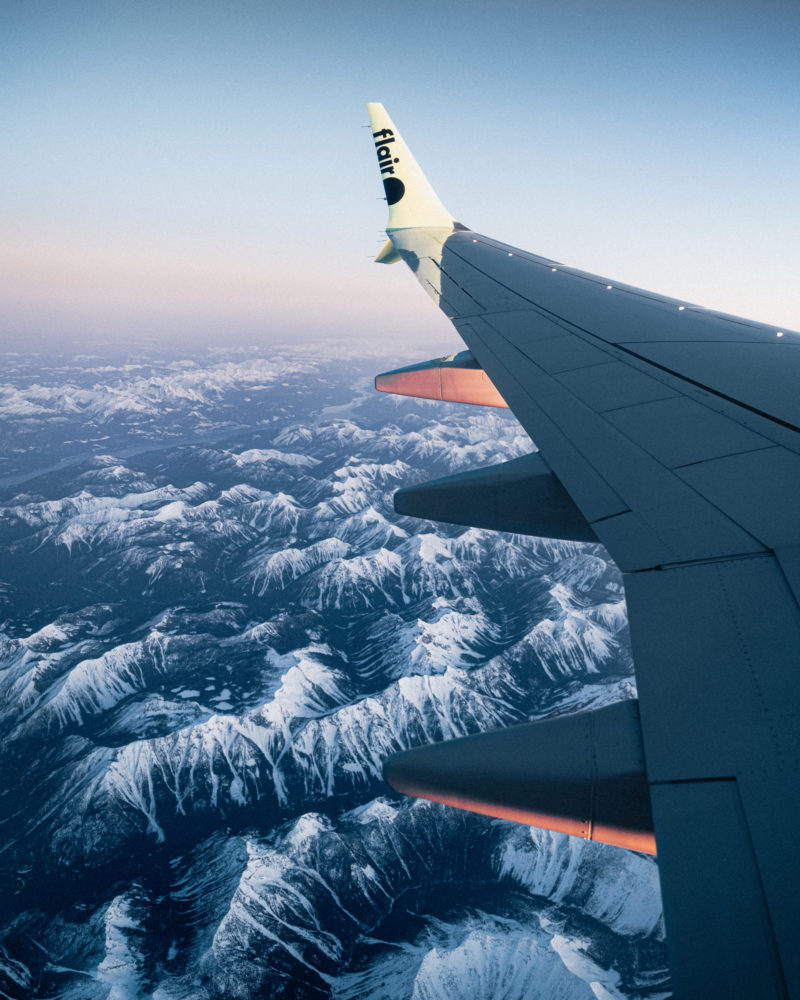
Location
Metro Vancouver, British Columbia, Canada
Date Hiked
Tuesday, February 14th, 2023 (Winter)
Conditions
Clear Skies
Temperature at Summit
2.5°C
Start Time
5:30 am
Duration to Summit
7hrs 34min
Duration (with Return)
12hrs 30min
Distance to Summit
7.25km
Total Distance (with Return)
14.50km
Route Type
Out & Back
Elevation at Start
238m
Summit Elevation
1,652m
Max Elevation Reached
1604m (Summit not reached)
Total Ascent (Elevation Gain)
1,385m+
Total Descent
30m
Hiking Poles
Recommended
Ice Axe
Recommended; For Summit Push (winter only)
Microspikes / Crampons
Yes, Both; Crampons required for Summit Push (winter only)
Snowshoes
Recommended; On ridge towards Peak
Dog Friendly
Yes; On leash
Outhouse
Yes (At start of trailhead)
Parking
Yes; Paid hourly ($3/hr) or full day ($24/day), max 3 days
Distance From Vancouver
35km; 40min
Technical Difficulty Rating
Rating (Reward)
★★★★★
Best Season
All Year (3 Season recommended)
Trailhead Directions
Heading from downtown Vancouver, head Northwest along the Sea-to-Sky Highway (Hwy 99) towards Lions Bay. Exit at Bayview Rd. Keep right at the fork to continue on Oceanview Rd. Turn left onto Crosscreek Rd. Turn right onto Centre Rd. Turn left onto Bayview Rd. Turn left onto Mountain Dr. Turn left onto Sunset Dr. Find a parking spot and head up the trail.
Don’t forget to pay for paying!
Parking spots are very limited (15 spots) and it is the main parking lot for 4 trails.
Trailhead Coordinates: 49.47068304650493, -123.2348081123576
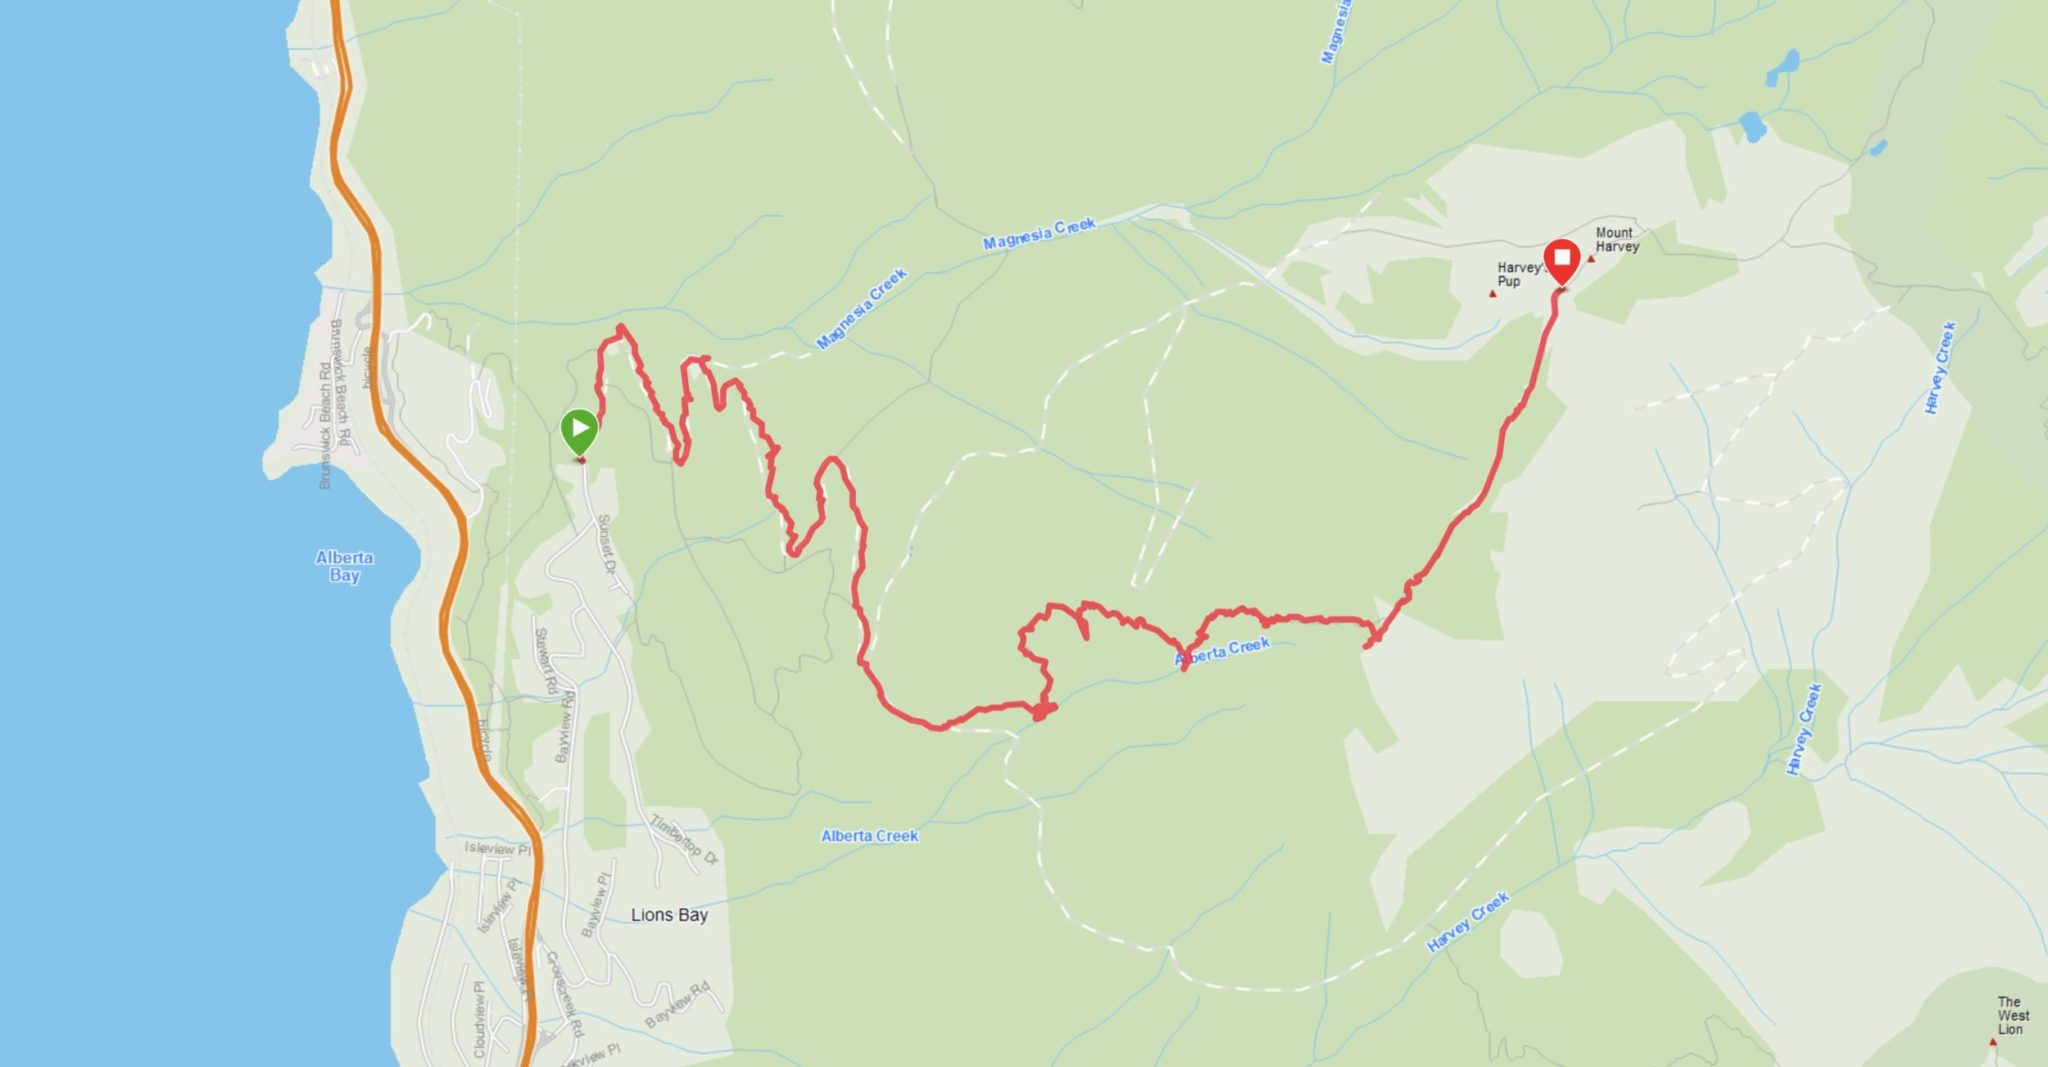

The Hike:
I hiked this trail in the winter (February). This blog will be biased towards the winter season as it will impact speed and effort in summiting this mountain in comparison to the summer seasons when there is little to no snowfall present. Shoulder seasons may experience similar results. The hike also started in the dark before the sun was up, so route finding can be more of a challenge at this time.
Hiking up the Mount Harvey Trail starts off at a moderate incline following a FSR (Fire Safety Road). Its not a difficult route, but because of the incline it will get your heart pumping almost immediately.
Along the FRS, the trail splits 3 times as it is the same initial route that takes you on different trails; Tunnel Bluffs, Brunswick Mountain, or the West Lion. The markings posts make it clear on which route you are taking, but once you split off, trail finding can become a little bit more difficult in certain spots, especially at night and with lots of snow coverage.
At about the 3km mark along the FRS, is where the Mount Harvey Trail begins. Immediately you are led on a rocky steep path. A little climb may be required for some people, but there is nothing difficult about it.
The Unnecessary Scramble
About 300m ahead from the start of the Mount Harvey Trail is where we missed the split on the trail and went the wrong way. The split on the trail was not seen on my maps and we didn’t notice it while we were hiking either. Going the wrong way, we ended up at Alberta Creek. I knew something was wrong as there were no creek crossings on my GPS and the trail was severely overgrown. At this point our GPS didn’t say we were far off trail, so we though this was the way. Rather than going back on trail and finding the route we missed, we decided to do a little scree & scramble up a steep hill. Because why not? It wasn’t terribly difficult and it wasn’t exposed. Our map said we were pretty much on trail, so we just tackled on a little climb rather than backtracking about 150m and go around.
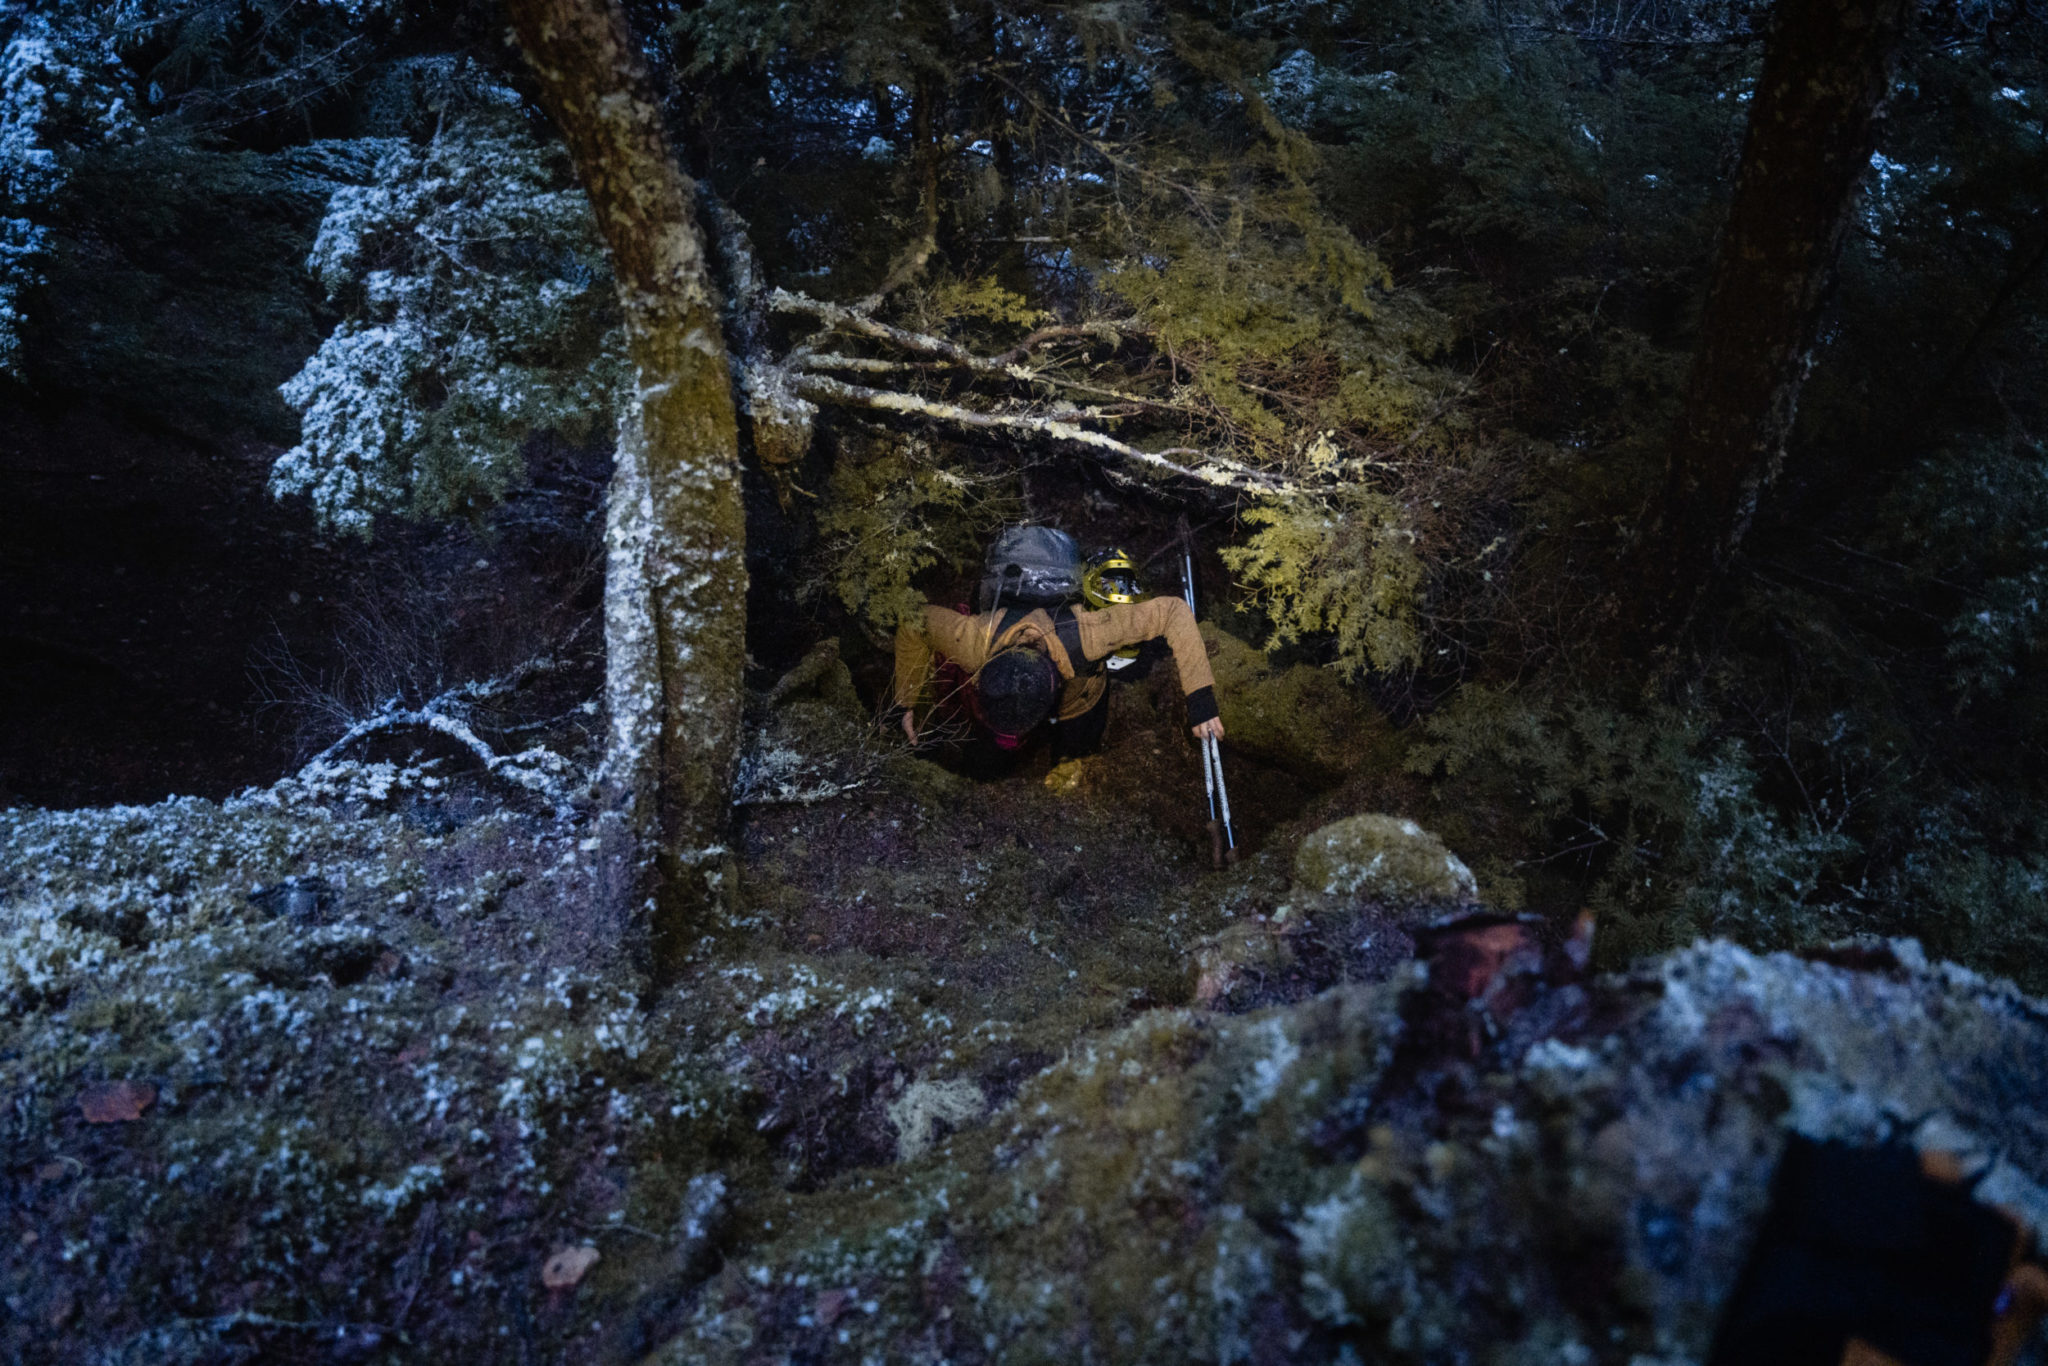
Pushing forward, the next few kilometers was a gradual incline of uneven and slippery terrain over rocks, roots, and fallen trees. Microspikes became necessary at this point.
Unknown Path
There came the point where the ground was completely covered in snow and the trail was tough to distinguish. It was apparent that previous hikers from several days before wandered around not knowing the direction either. Luckily, I was using maps.me on my phone for our offline GSP trail map, which helped point our direction. Tree markers were scattered, and by surveying the area, they could be spotted from a distance.
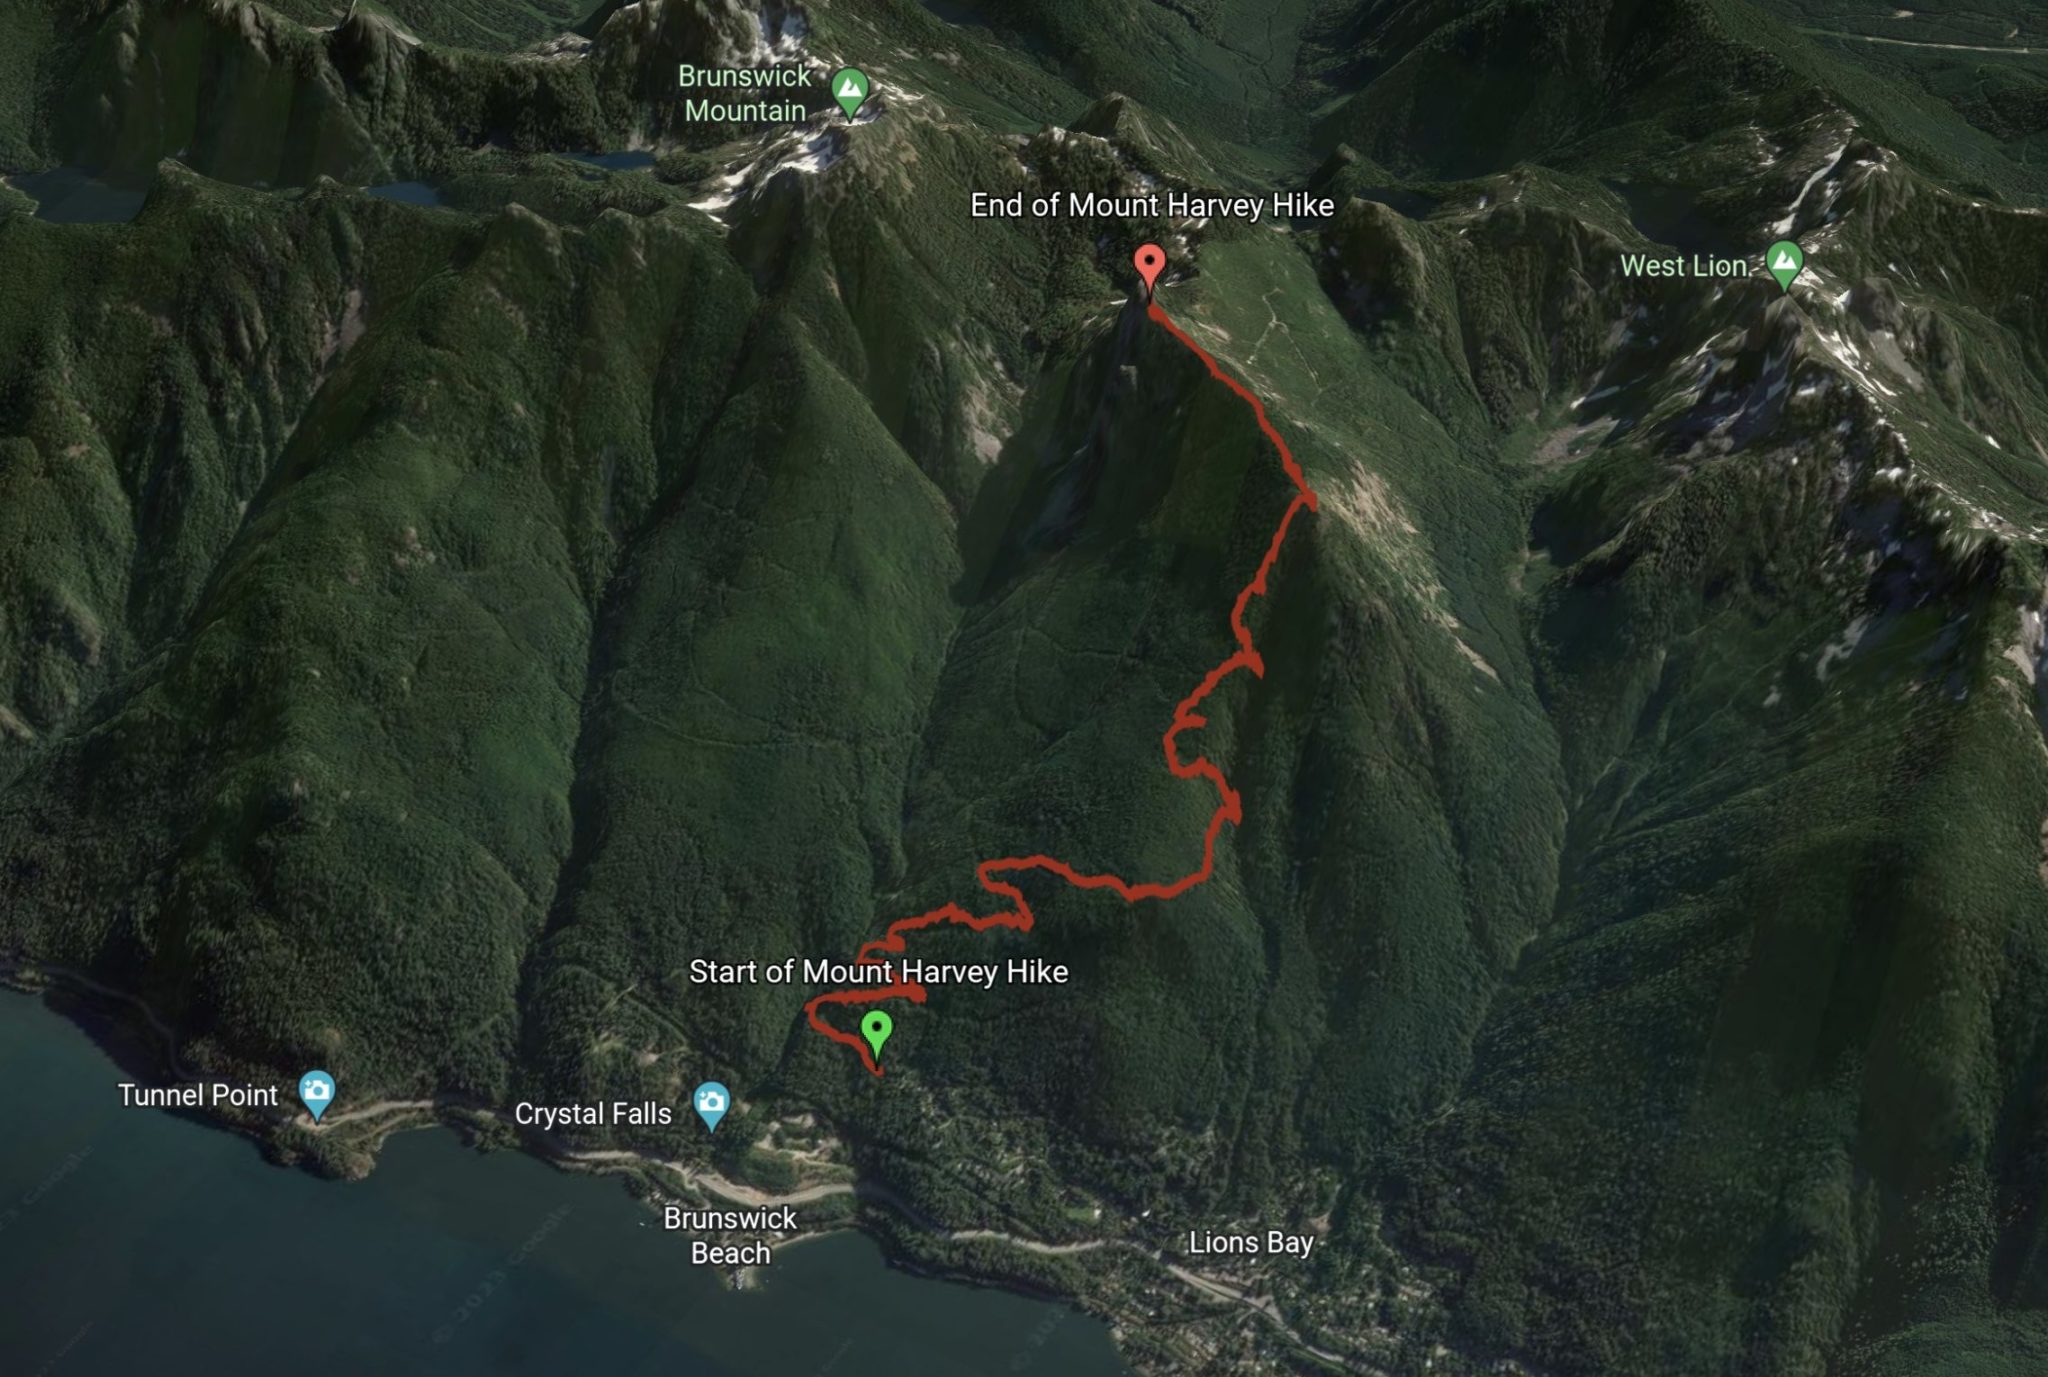
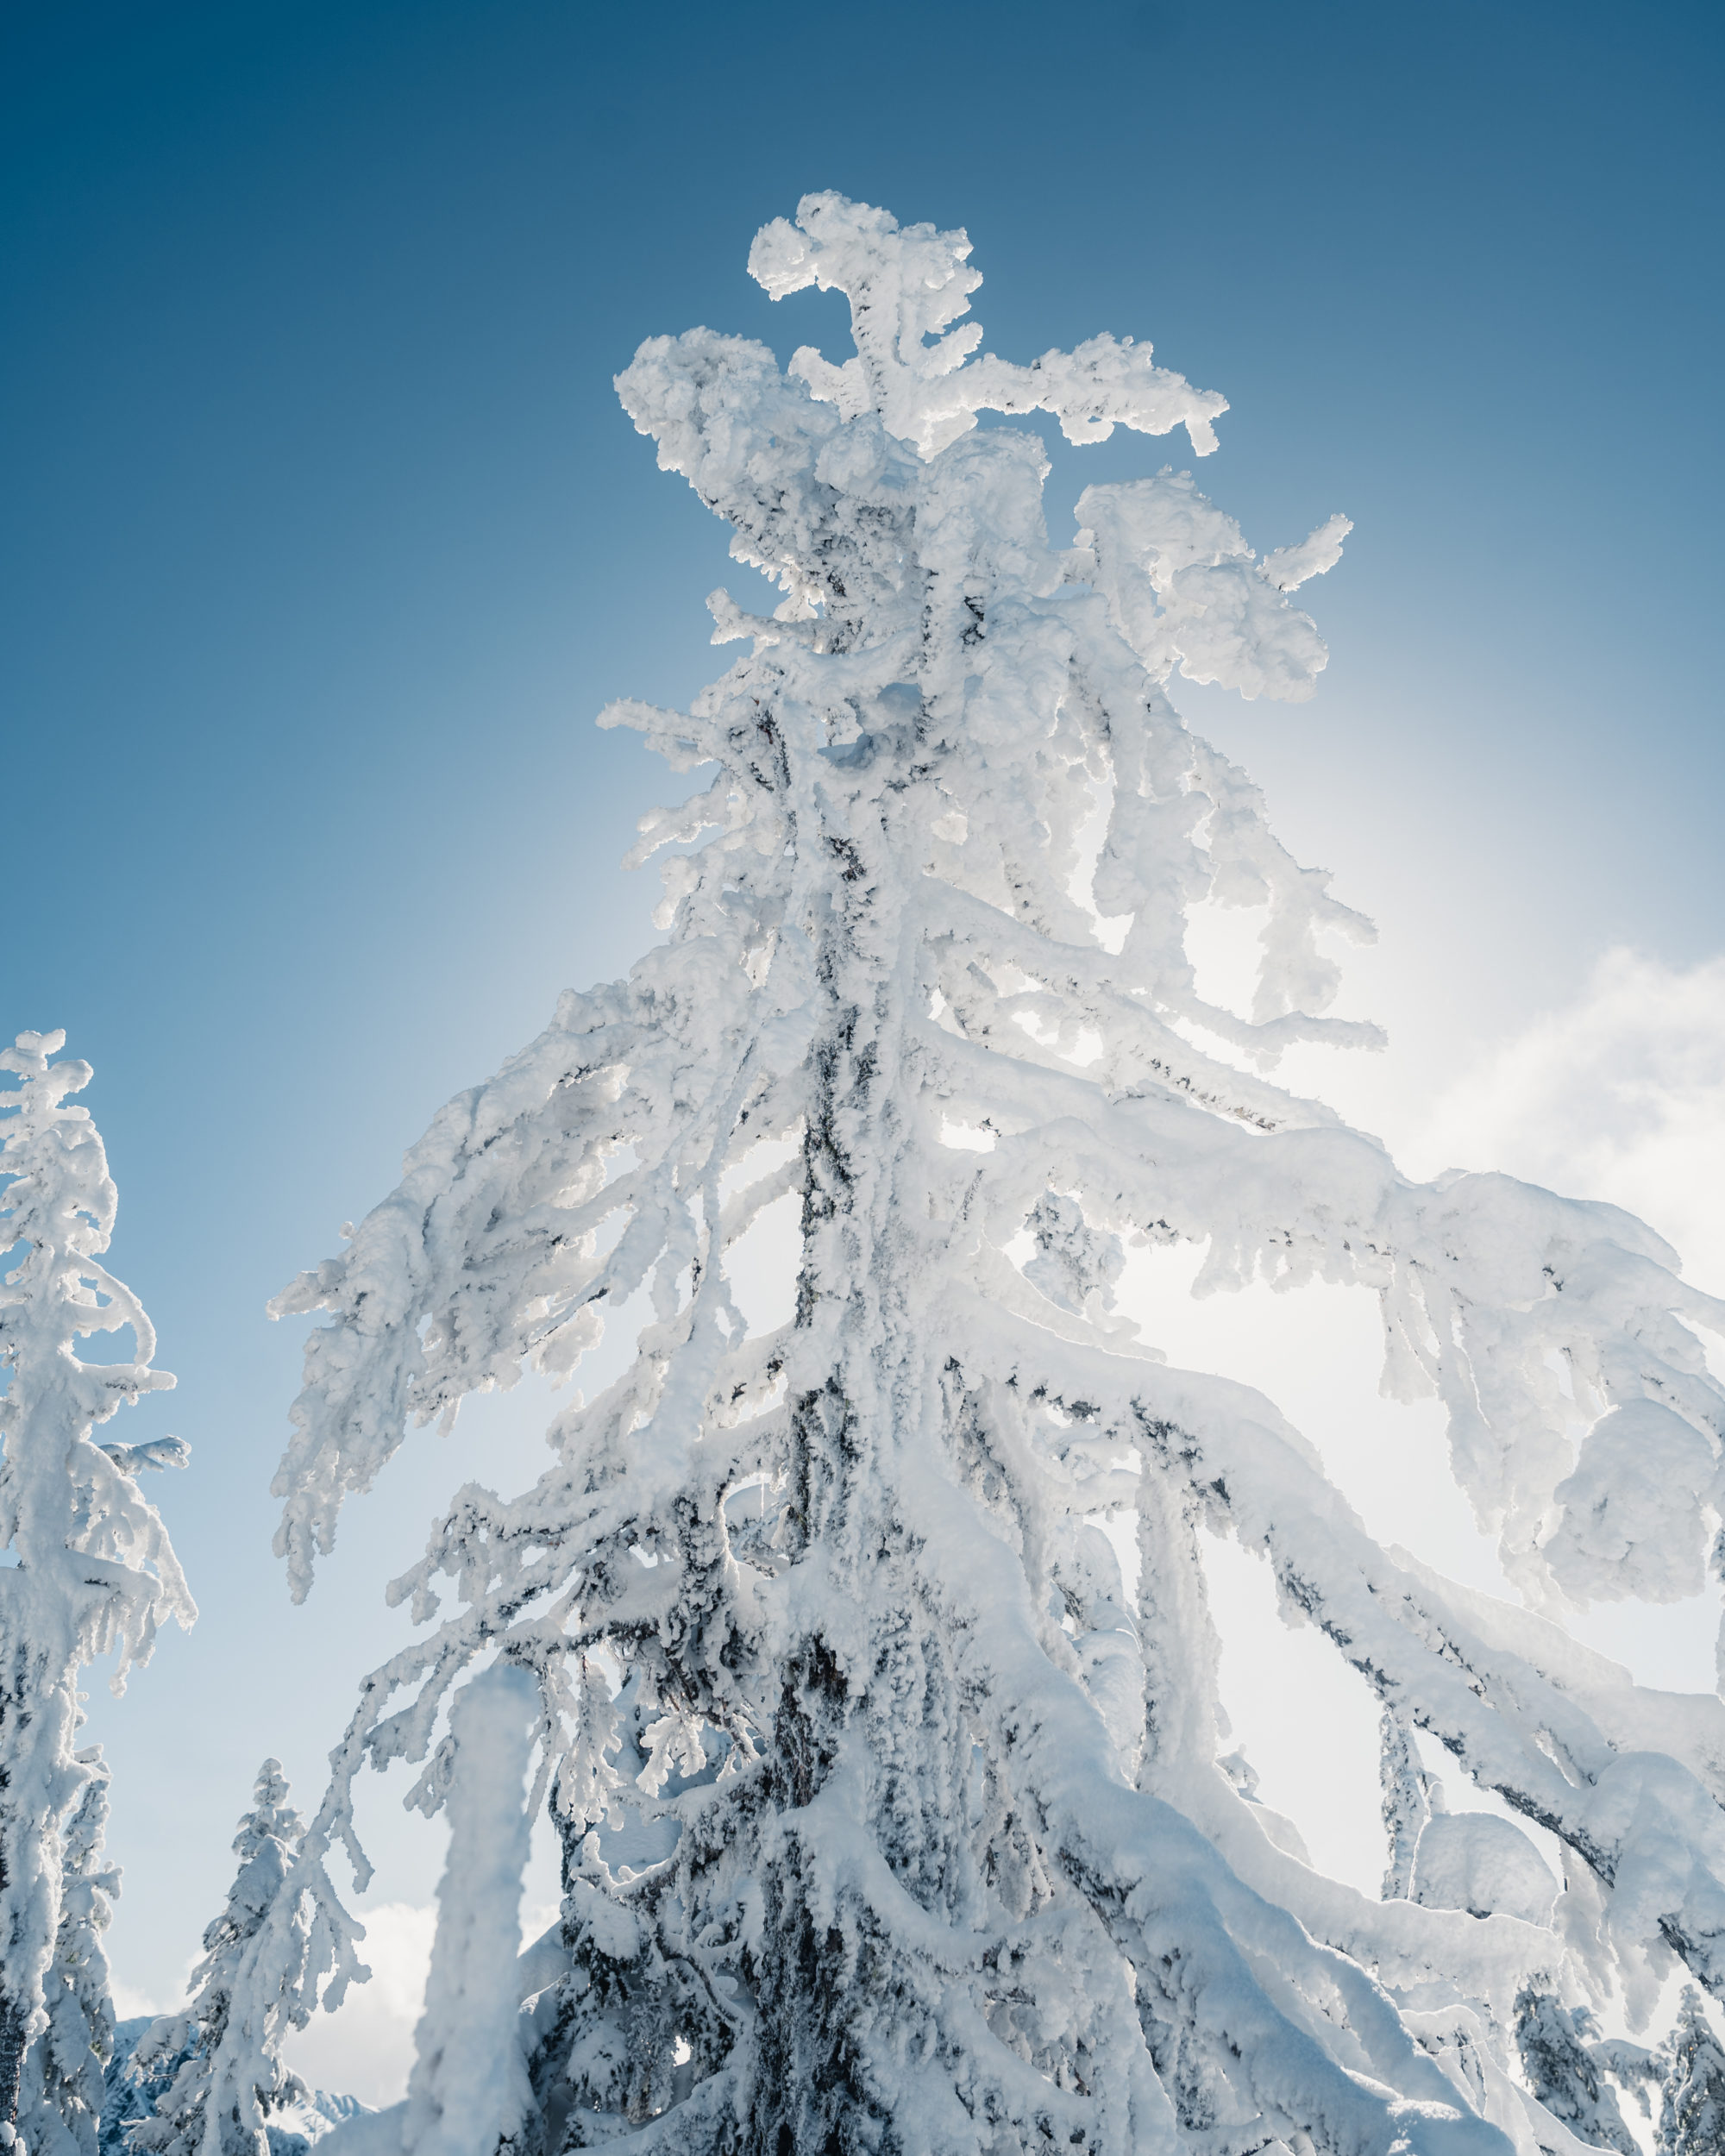
Reaching the Summit, Kind of
The last kilometer was a grind. The section through the forest became very steep and the snow was knee-deep. My trekking poled were getting swallowed whole at times. I took the lead, making kicking steps all the way up the steep incline so that my hiking partner and the two other people who caught up to our trail, could follow in my footsteps.
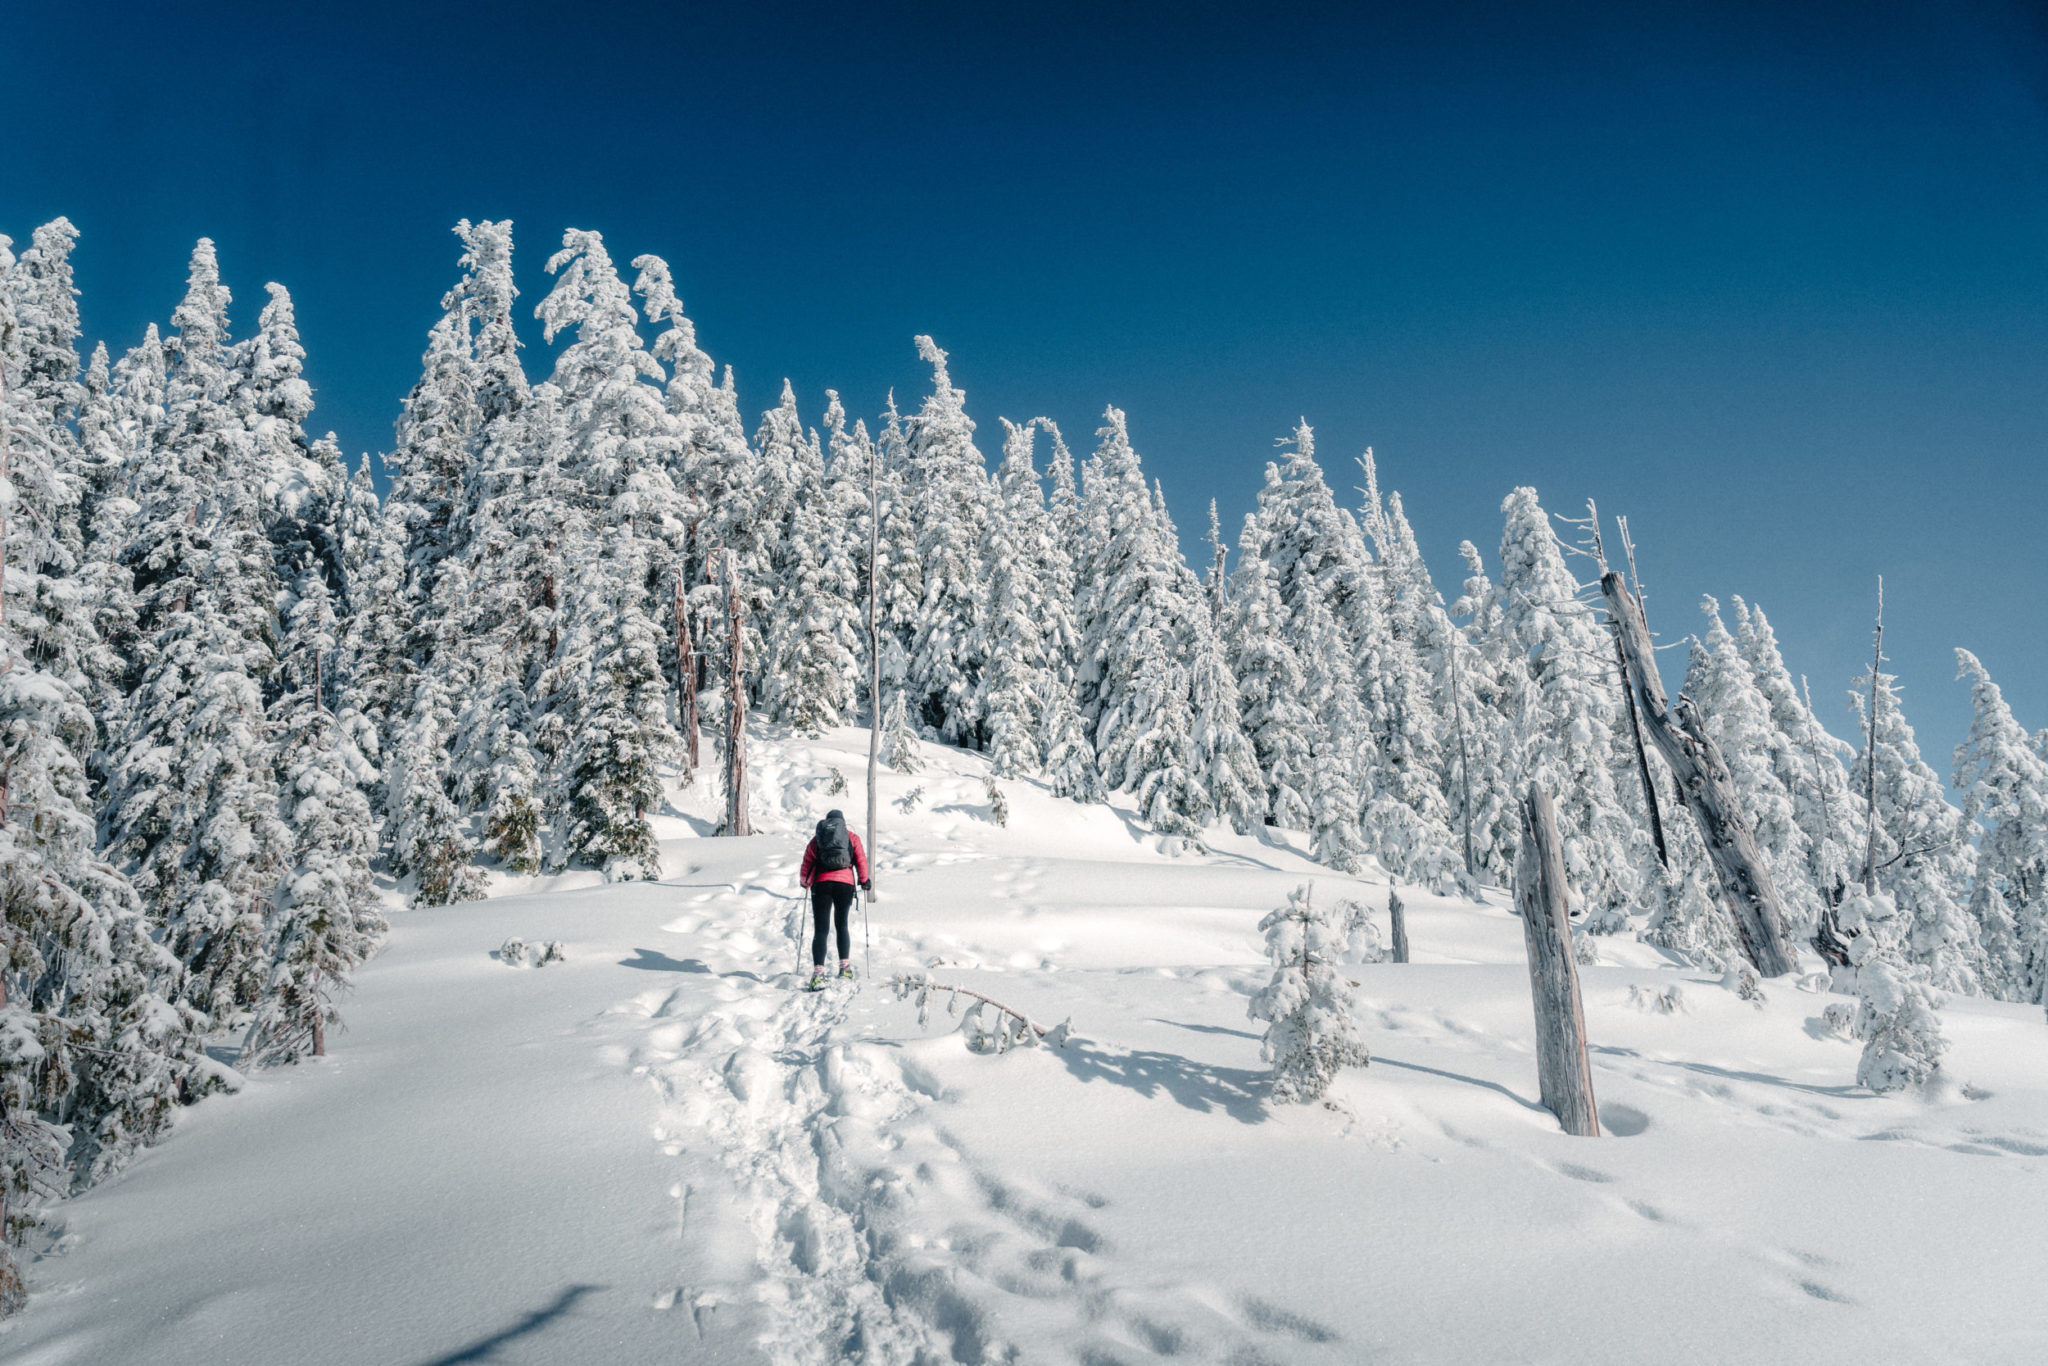
Crossing the Ridge
The snow along the ridge towards the summit was very soft and deep. We strapped our snowshoes and marched off. It made it easy to traverse in snowshoes, but then again, it also made it a bit of a challenge in certain spots as there were many ups and downs, and narrow paths. We fall over several times here. After about 1 kilometer through the trees we were alas able to see the summit!


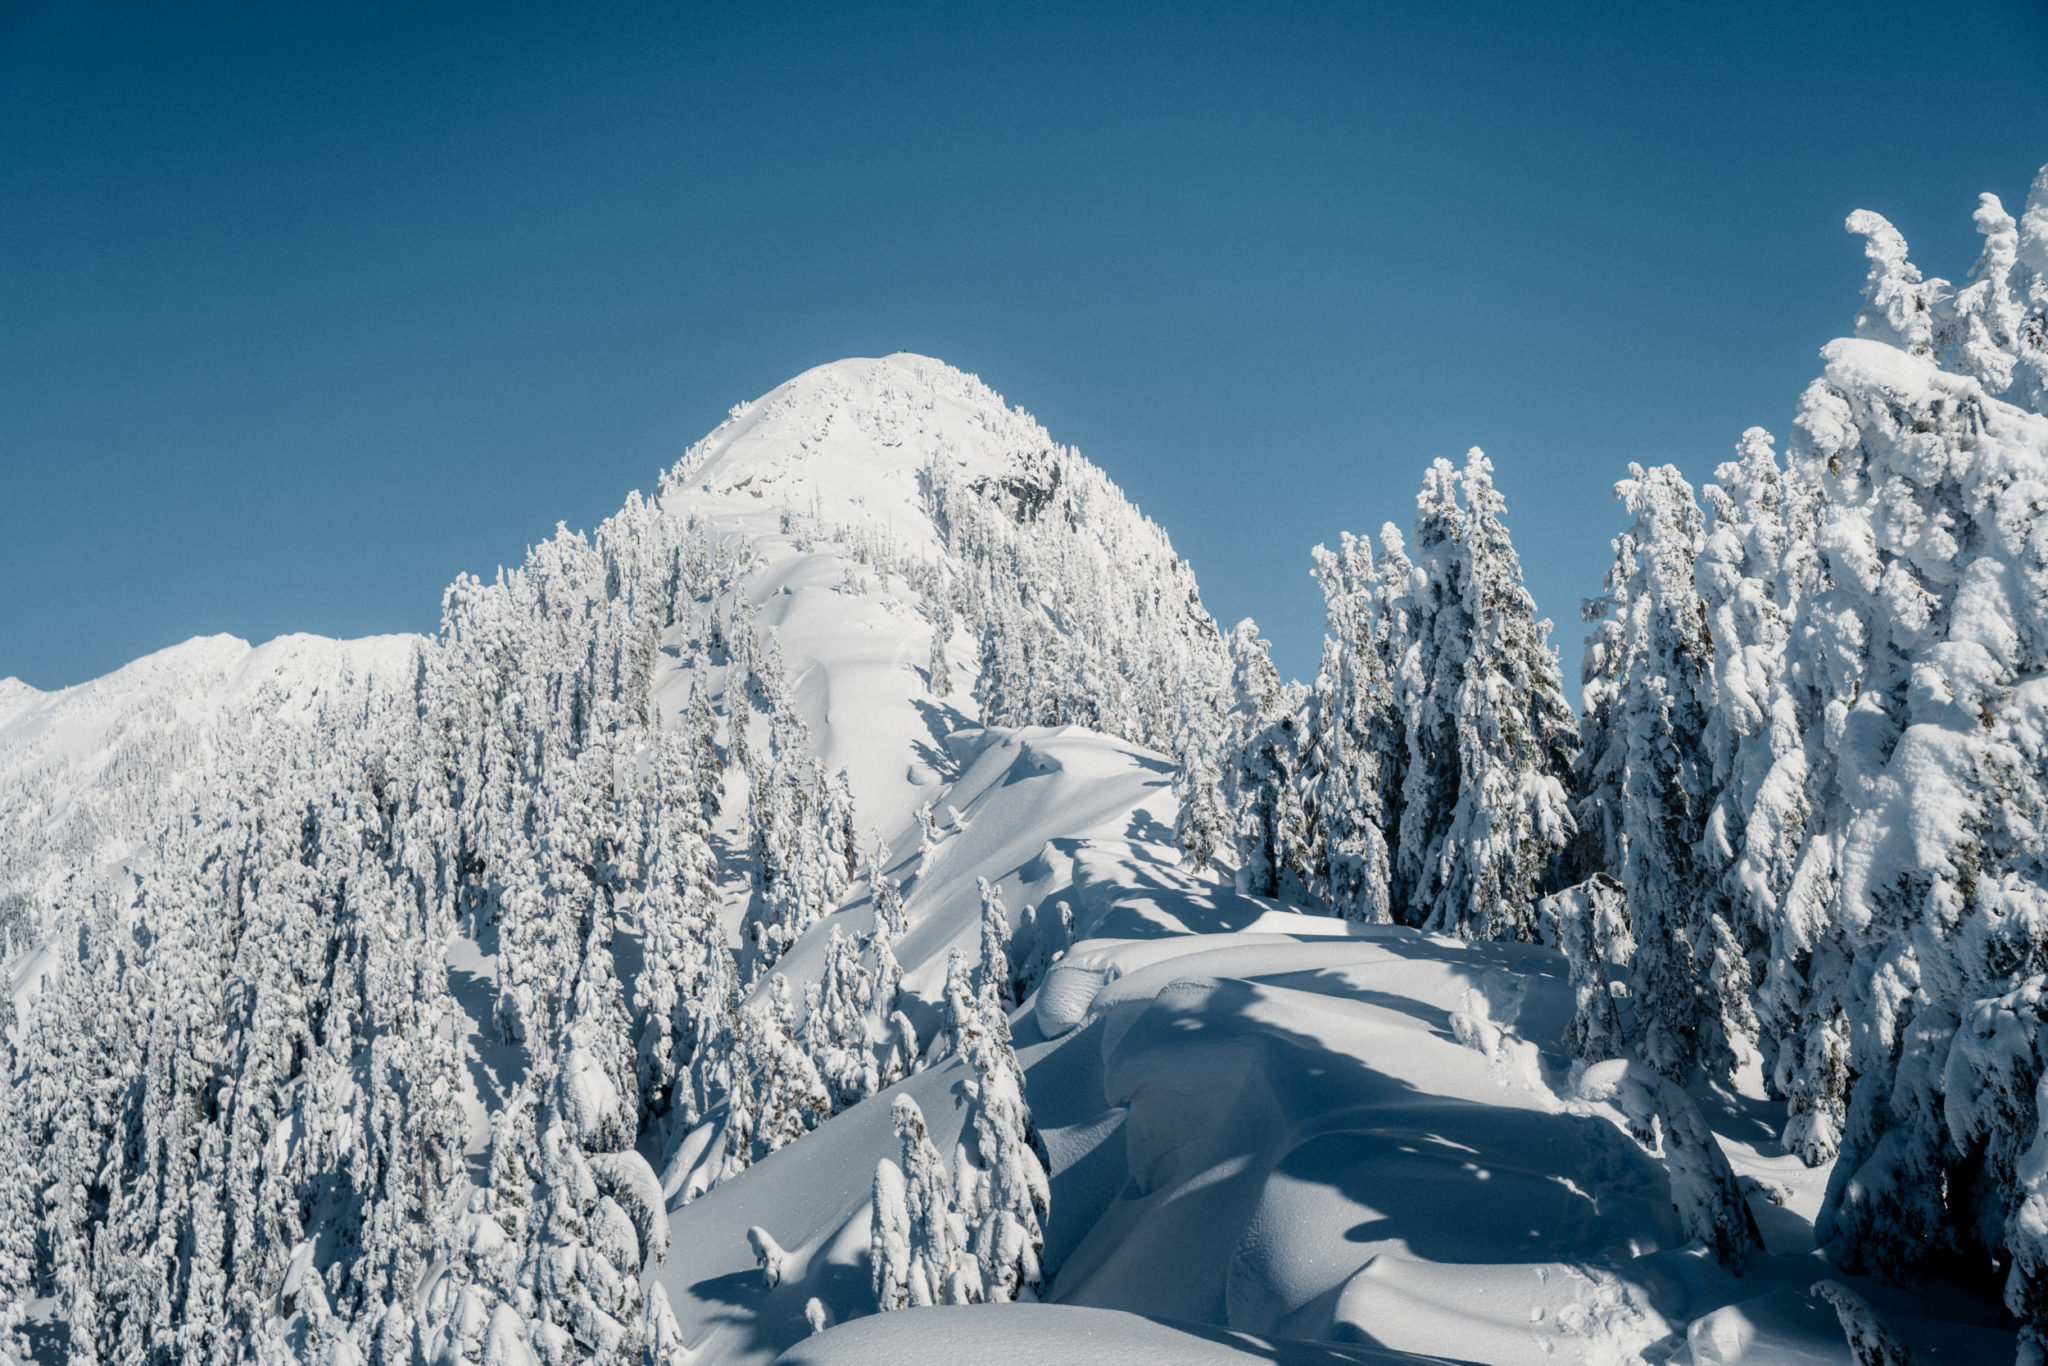
Summit Push
This is when things started to get steep really quick. The snowshoes came off and the spikes went back on. We went on as far as we could, but it was too steep and too dangerous. In the summer months this would be considered the scramble section. Doable when there is no snow, but with snow and ice, it was not safe, not without the right gear.
A set of proper crampons was a must to conquer the summit. An ice axe would have been key as well, just in case of a slip, you could self-arrest. Falling here is not an option. I took my first step and slid down 2 feet. We though we could do it, but with microspikes on compact snow and ice, and a steep 45-degree incline, we didn’t stand a chance.
We made it to 1604m, just 49m short of the summit (1654m). The other couple who was behind us managed to get to the summit as they had crampons – Lucky them. We played it safe, dug a little seat in the snow and rested here soaking up the sun light before returning back down.
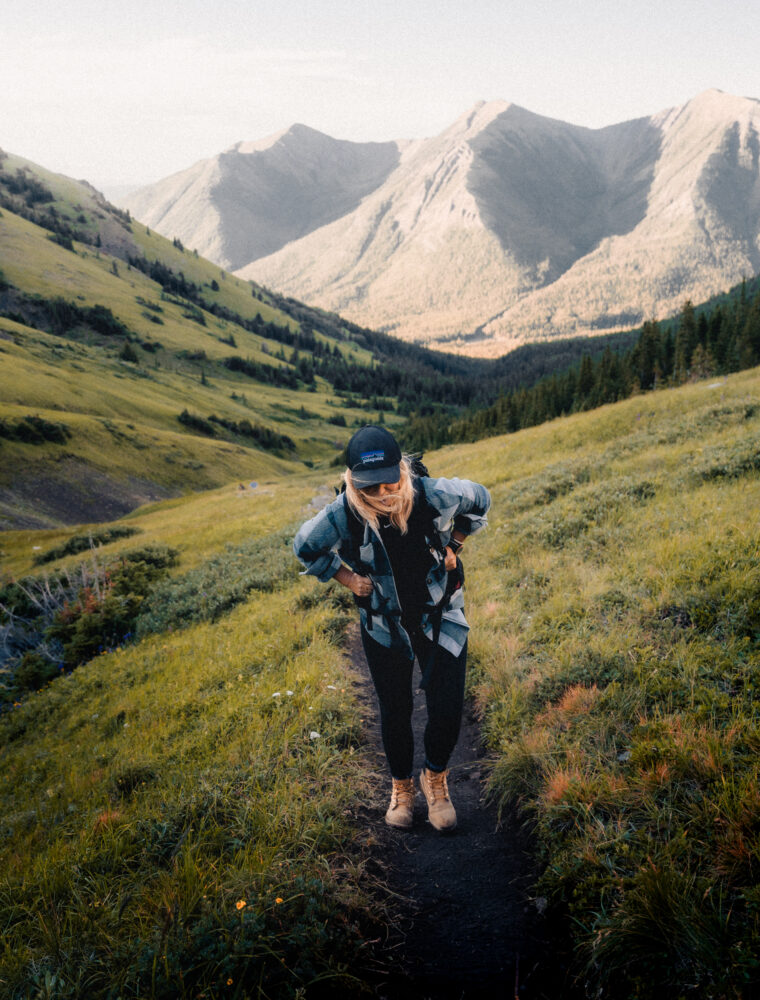
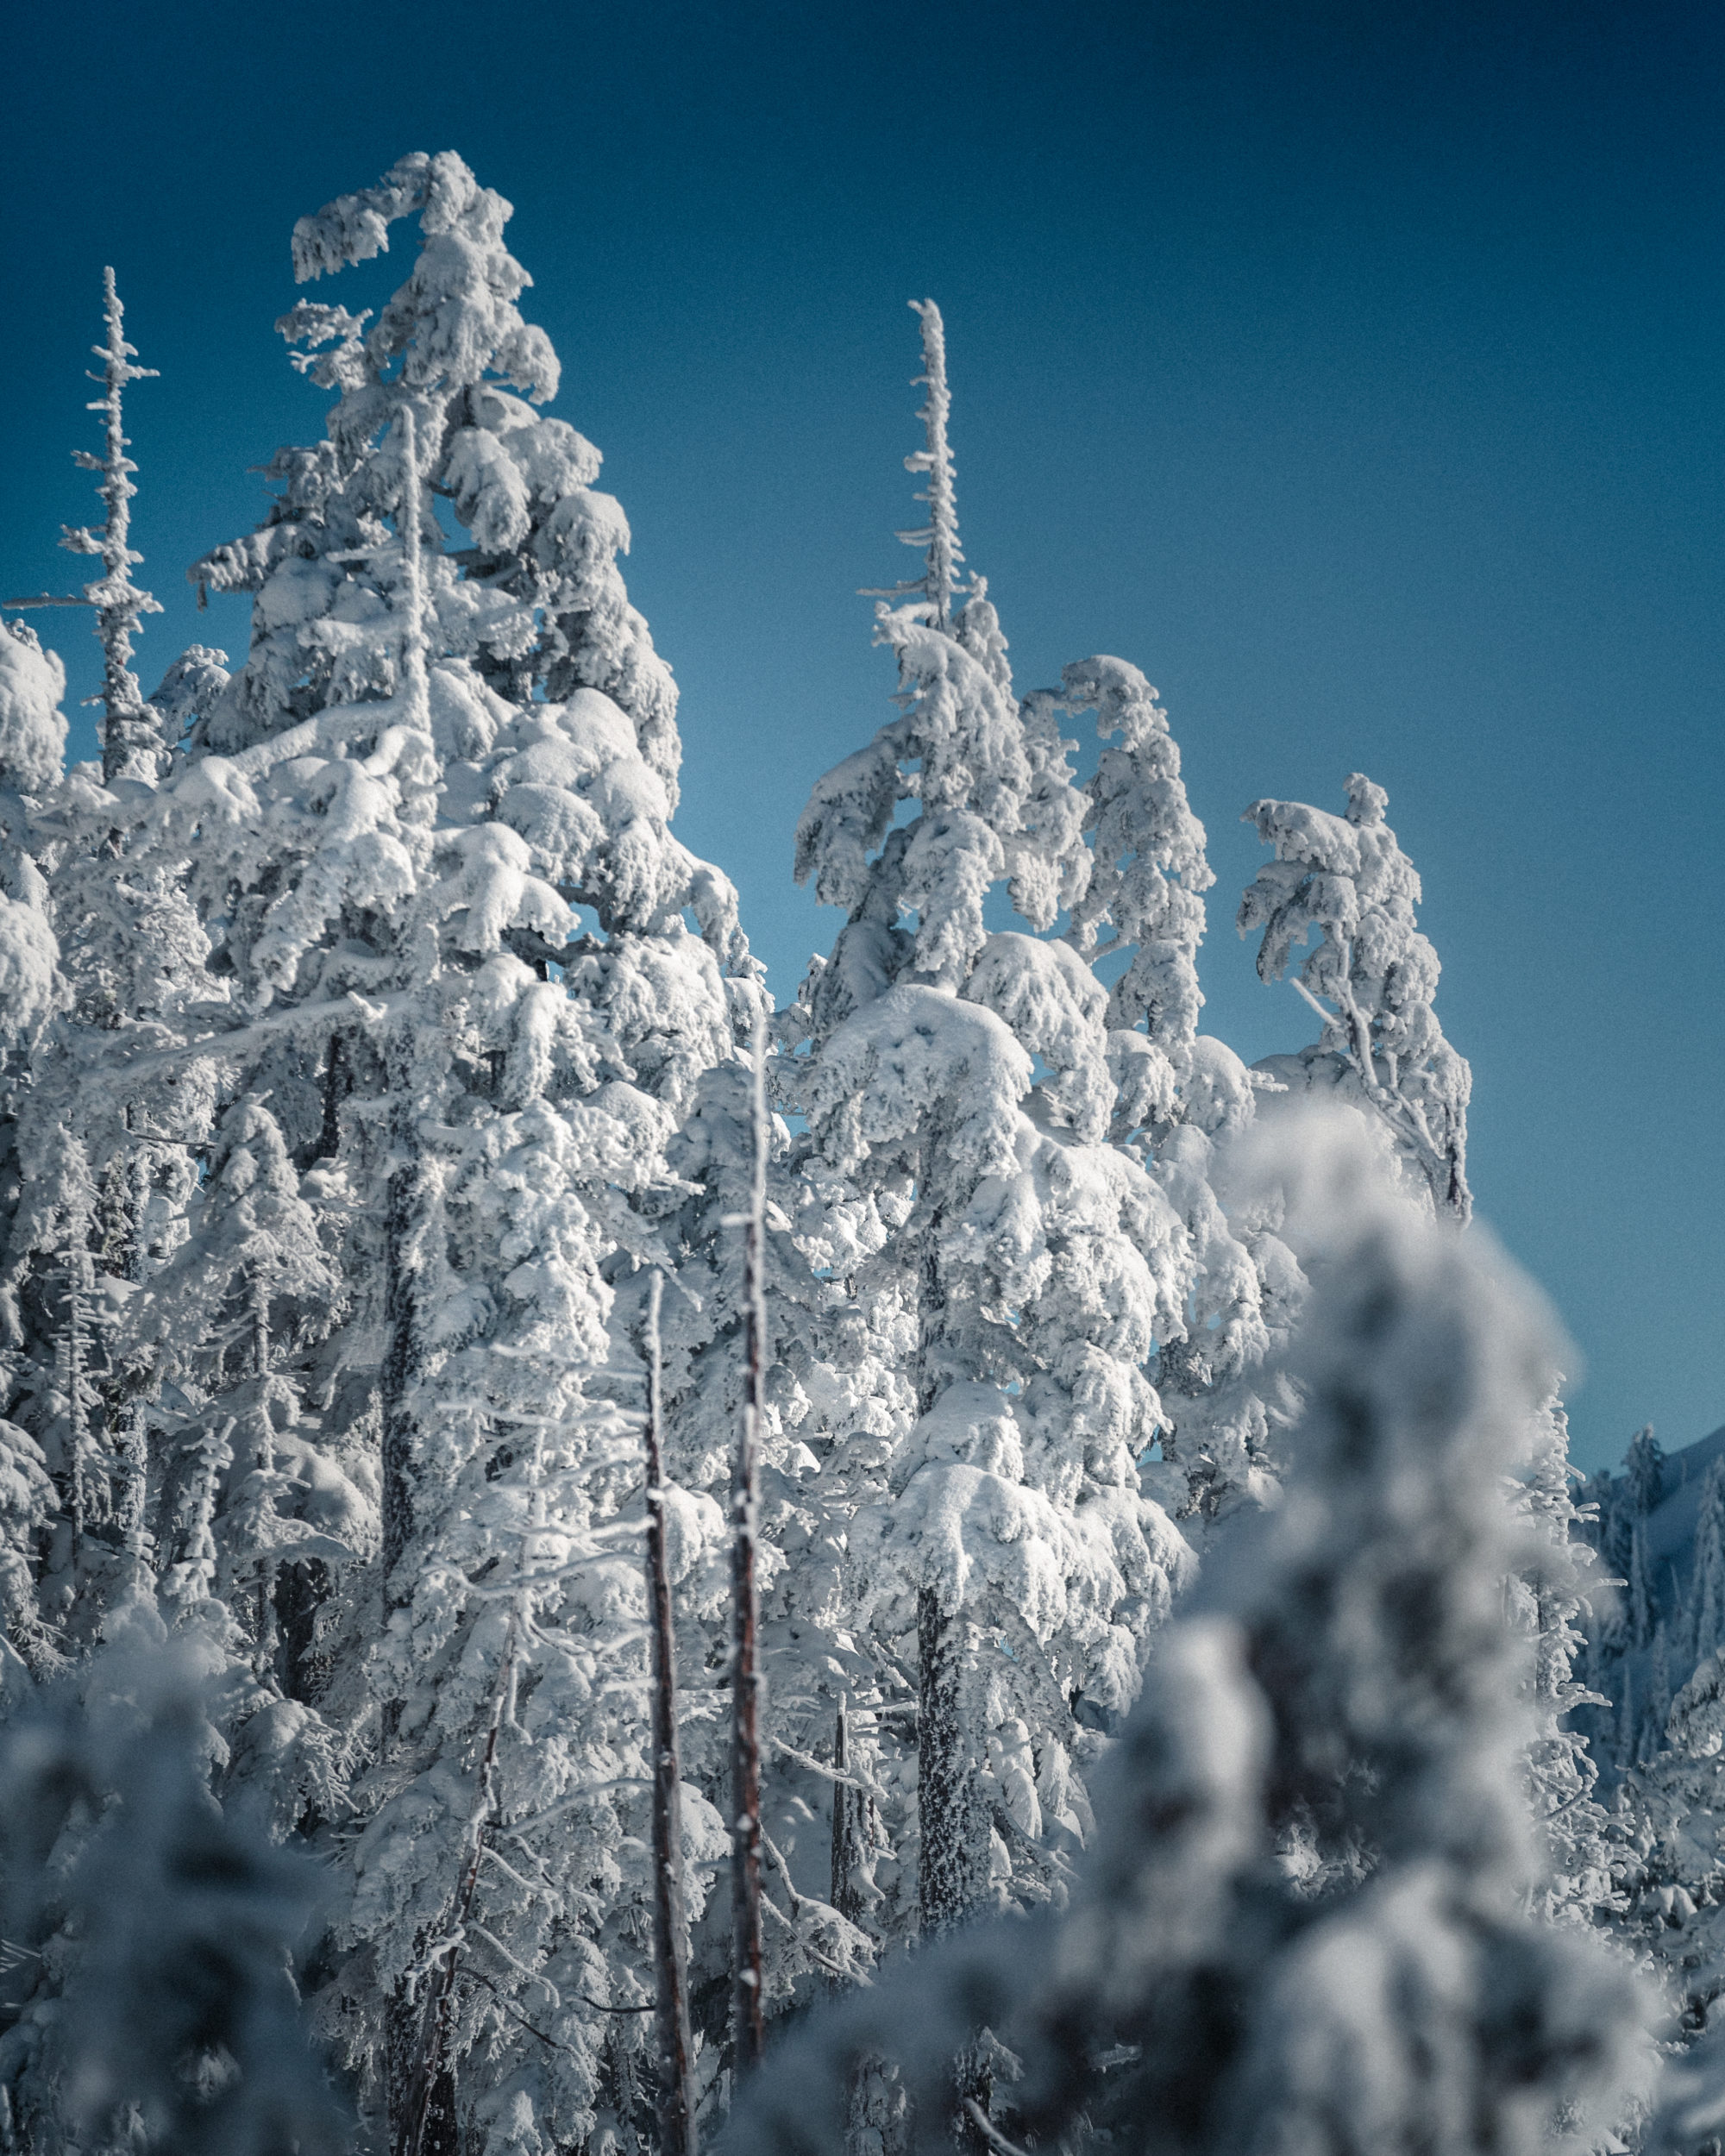
Is It Worth the Hike?:
Oh, absolutely! I would give this a solid 5 stars.
The hike itself was long and exhausting, but it could be better as the snow melts and becomes more travelled. But, regardless, the reward to the summit, or even to the false summit is worth it. The views are beautiful with a near 360 degree view and a 360 degree view at the summit (which we didn’t get the change to see).
We made it to 1604m, just 49m short of the summit (1654m). The other couple who was behind us managed to get to the summit as they had crampons – Lucky them. We played it safe, dug a little seat in the snow and rested here soaking up the sun light before returning back down.
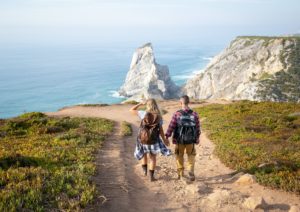
When Should You Hike It?:
Season:
This trail is less travelled in the winter according to the reviews I’ve seen, and from my own experience, and I don’t doubt that this would be an amazing hike in the summer time too. I would say you can do this any time of the year as long as you are prepared for it.
Time of Day:
It took us nearly 7 hours to reach the summit in the snow. In the summer, it is estimated to take up to 3 hours. If you do intend on doing this hike, winter or summer, I would start as early as possible. Not only do you need to factor in the hiking time to and from the summit, but the lack of parking. It will get busy and it will fill up very quickly in the summer. As mentioned, there is are only one parking lot with 15 parking spots for 3 different trails.
Necessary Gear:
The proper gear depends on your skill set and what you intend on doing. Miss-using equipment from a lack of knowledge can cause injury, or worse. If you have any questions about the gear, if it is right for you, please feel free to leave a comment below and I will happily answer.
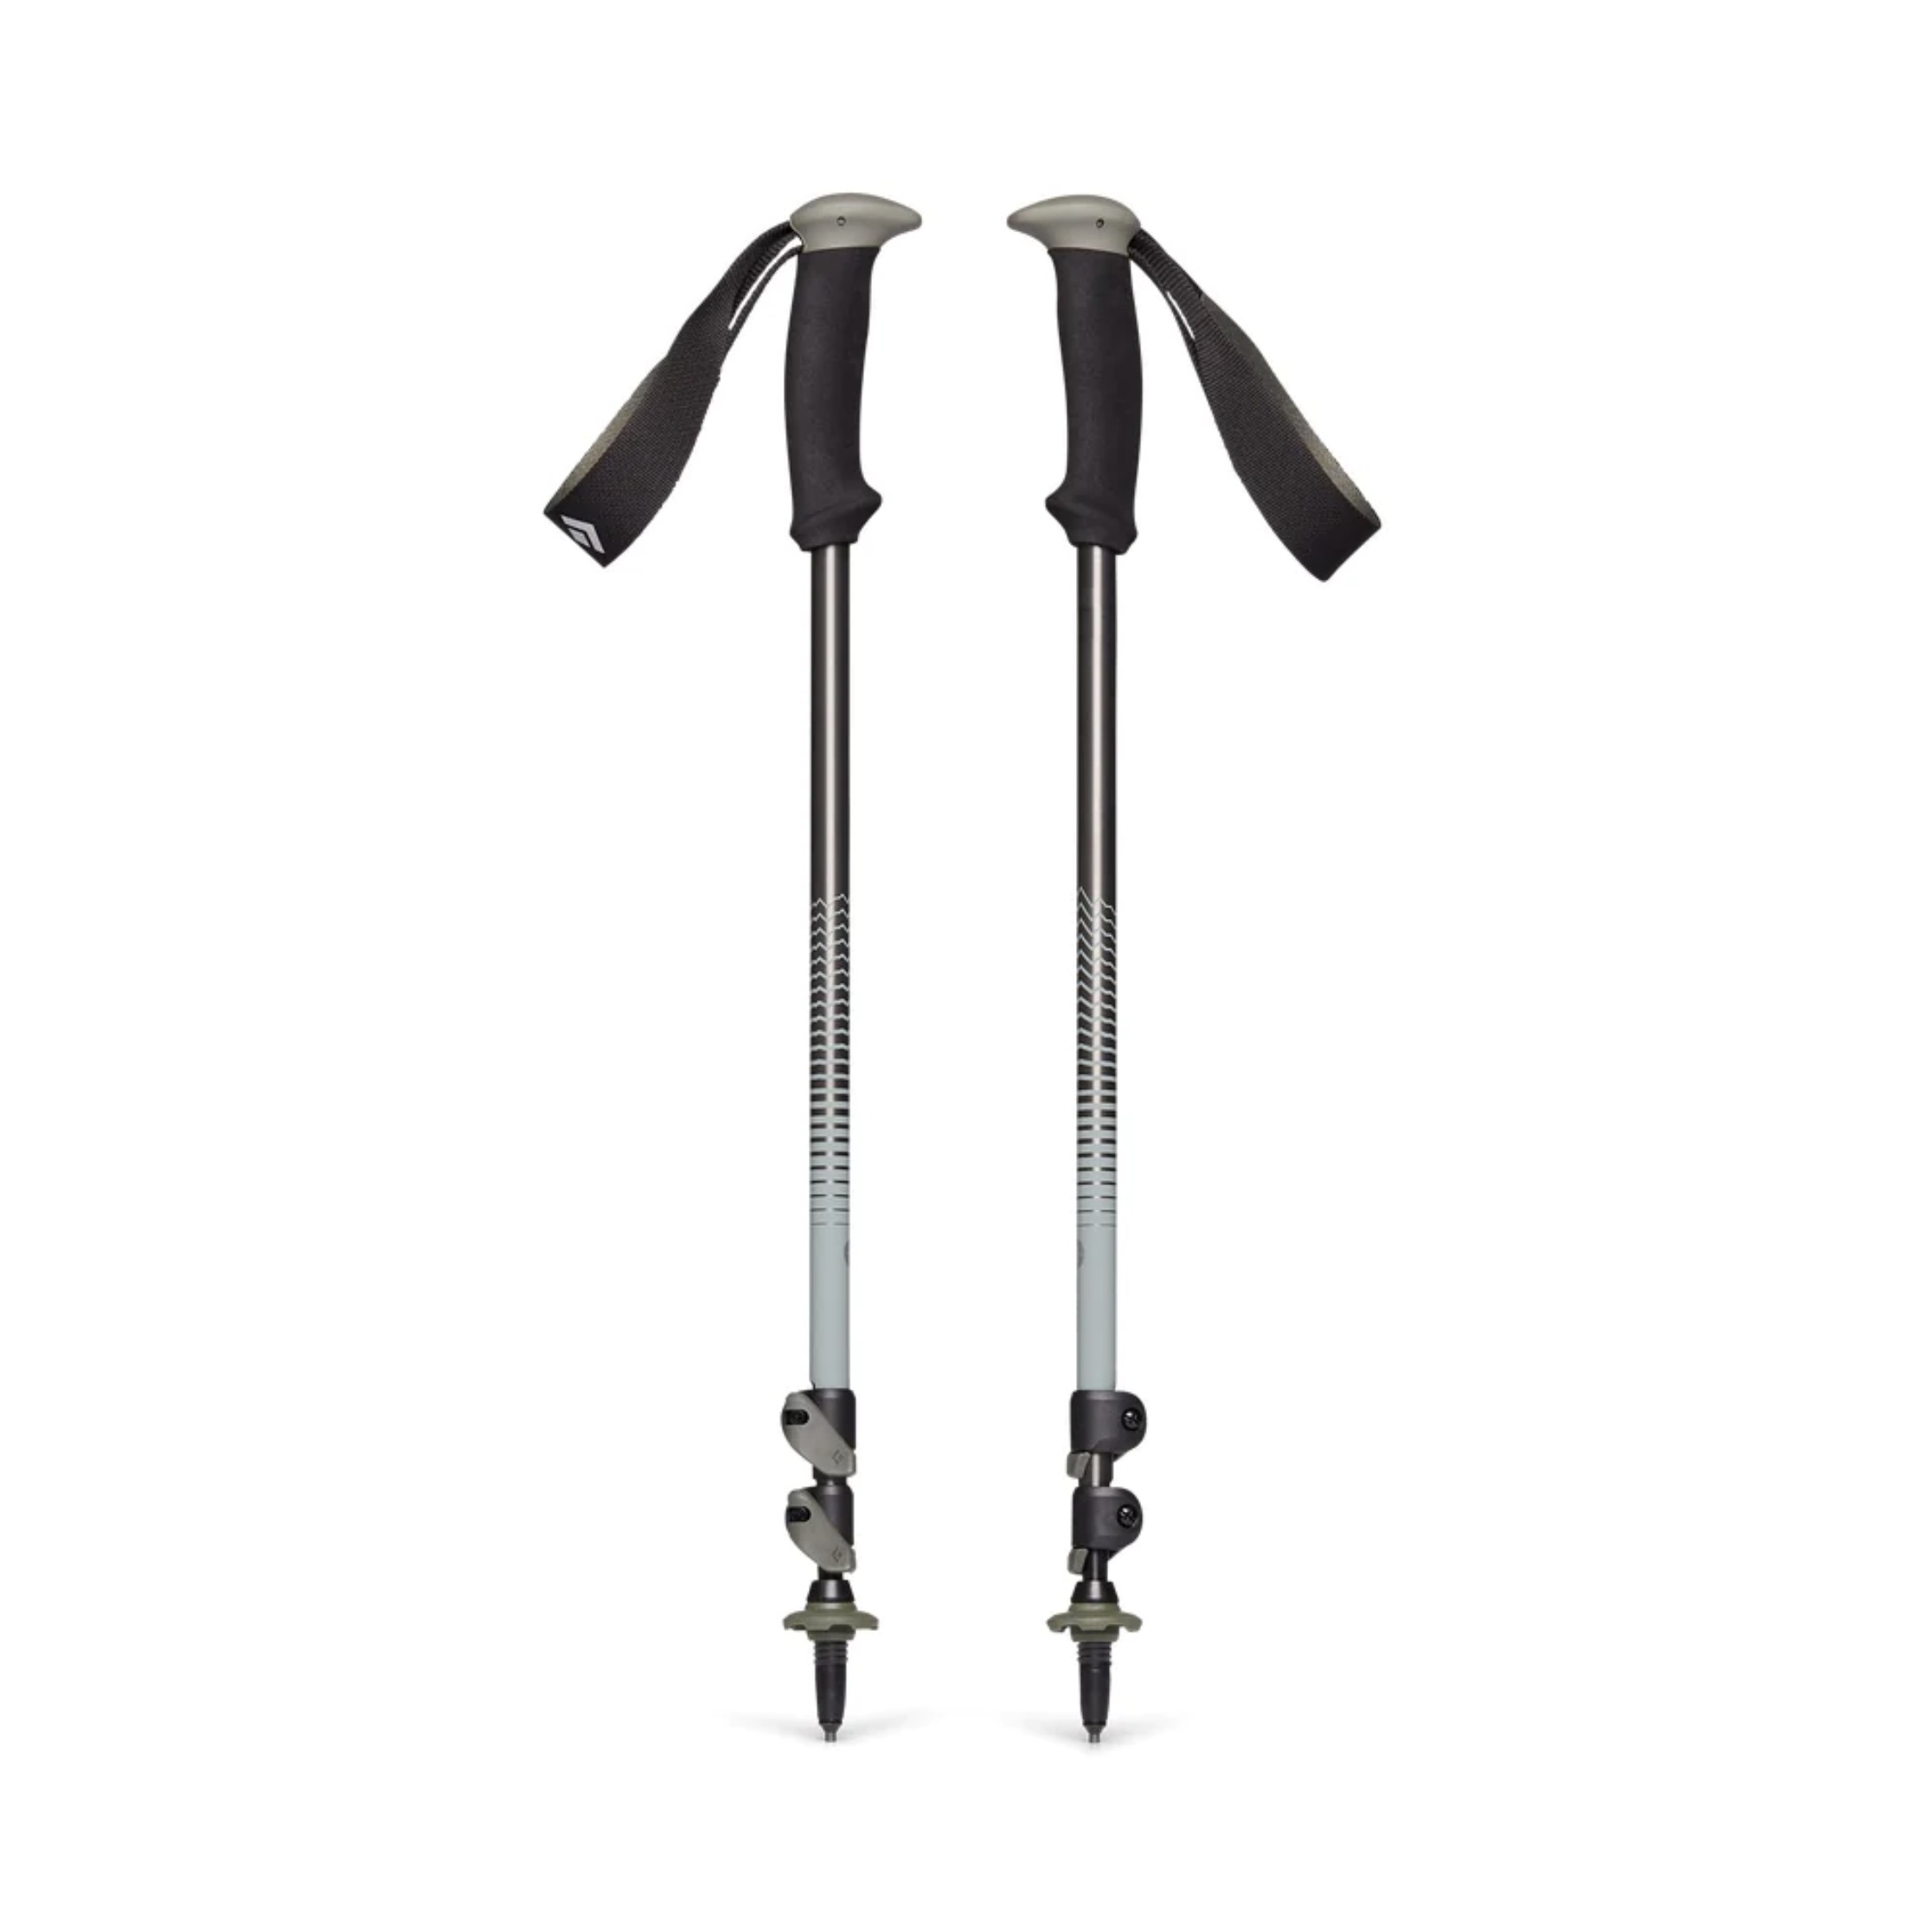
Trekking Poles (with snow baskets): You will definitely want to bring a pair of trekking poles with large snow baskets (not pictured). I forgot to put my snow baskets on and my poles my poles were constantly sinking completely into the snow. If you don’t have any, its not the worst thing, but you will need to be more careful on your placements.
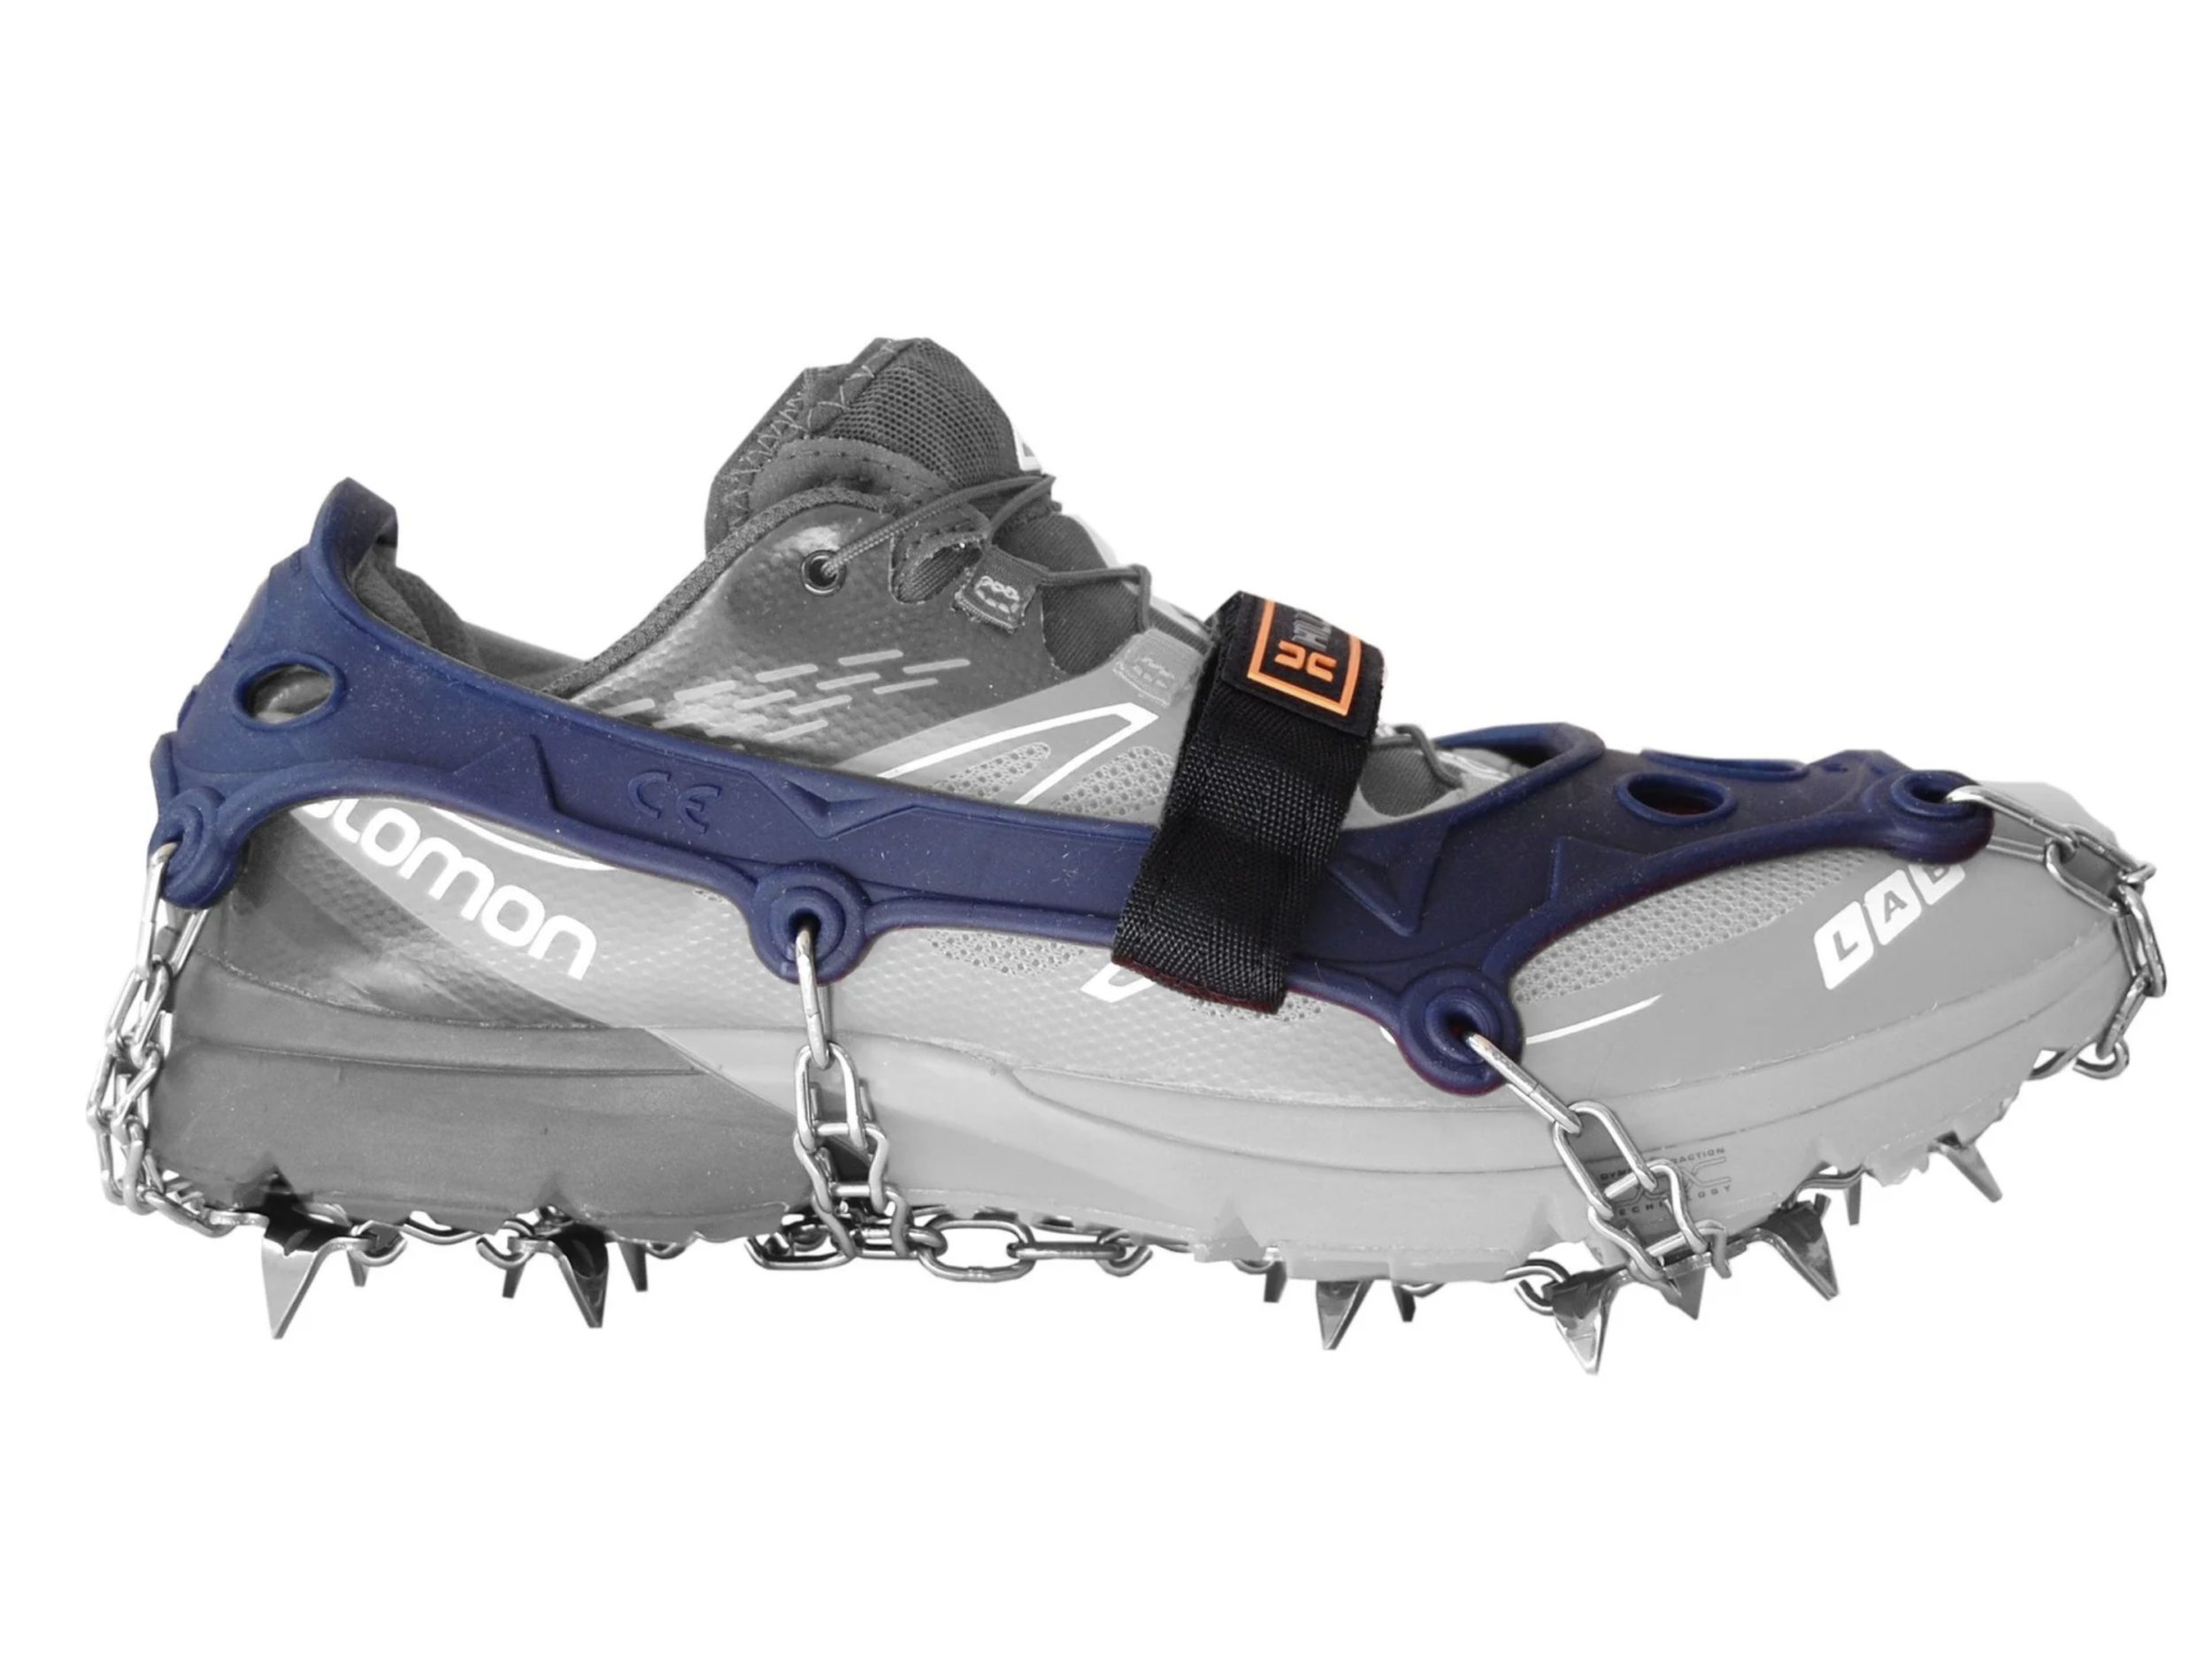
Microspikes: The majority of the trail will need to be done in microspikes. The terrain is too steep and slippery in just boots.
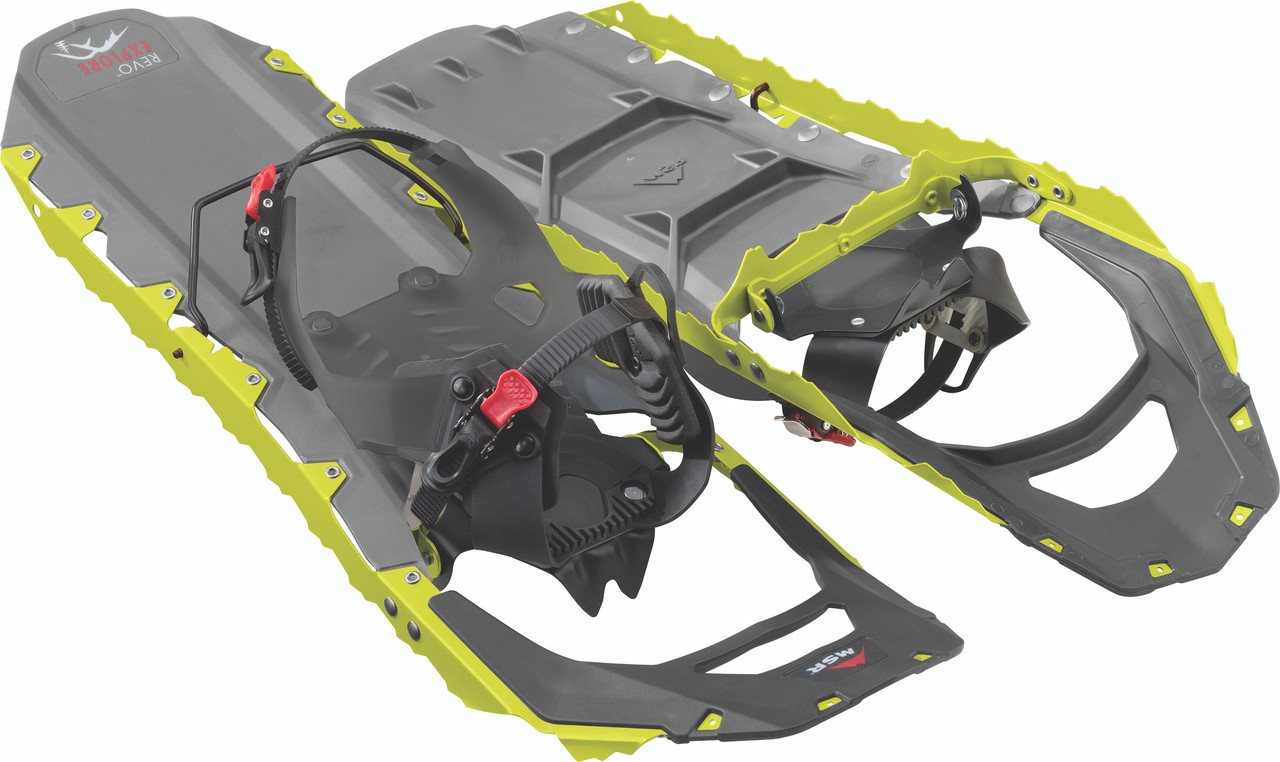
Snowshoes: This is optional. It would definitely help you when crossing the ridgeline but is not 100% needed. Although the snow here is very deep, it might be easier being on foot than constantly stumbling when ascending and descending the slopes. I went one way in snowshoes and returned on foot.

Crampons: If you’re brave enough and want to reach the summit, I highly advise you bring a proper set of crampons. Microspikes will not cut it as its too steep and icy. There are many different types of crampons, from different materials to different intended uses. Make sure you get what is best for you and what fits your boots. Boot fittings are very important as there are 3 different mounts for crampons; strap-on, semi-automatic, and step-in.
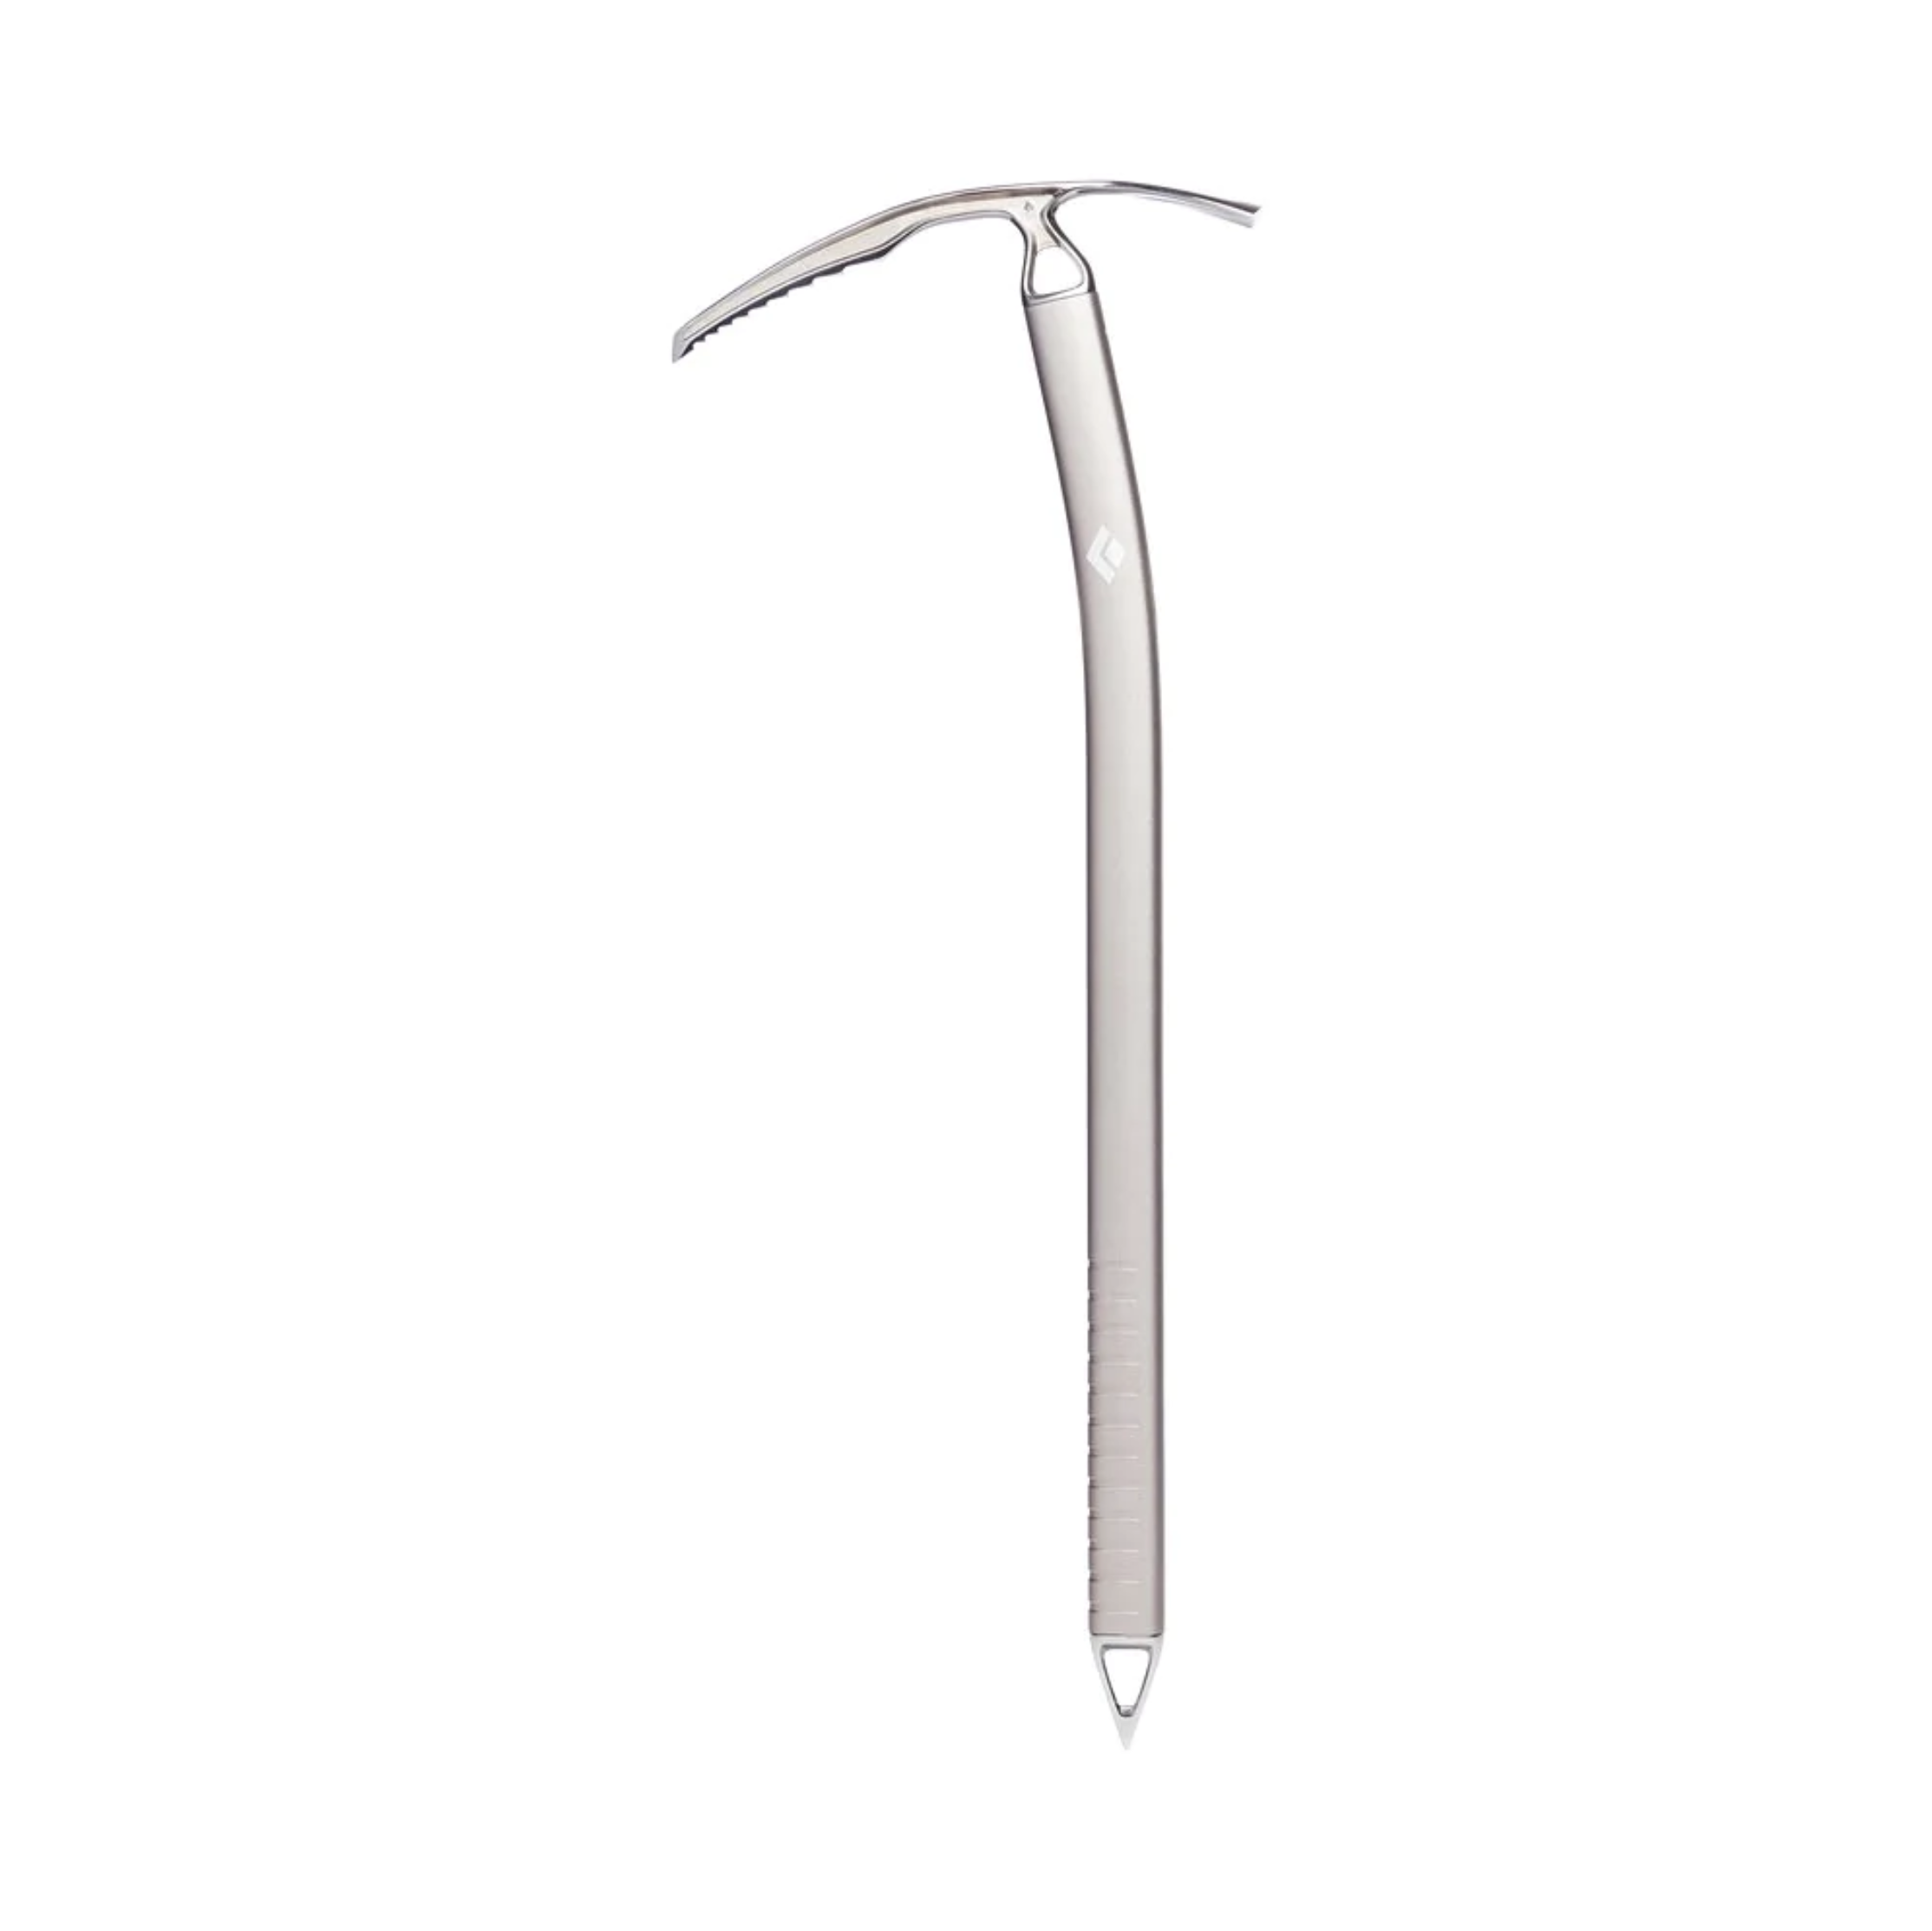
Ice Axe: I’ve never hiked where I needed an ice axe before, but now that I am slowly finding a love for mountaineering, and I can see why having one could be very helpful. It is a tool to keep you secure while ascending and for self-arrest, in case you do fall. There are straight shafts and curved shafts depending on your use.

Food & Water: Obviously having plenty of food and water is important. It can be tiring climbing, so having enough to hydrate and to give you fuel is key.
Winter Hiking Tips:
- I would advise avoiding bringing a water bladder with a tube to drink from. This can easily freeze over. This happened to my hiking partner, where her drinking tube froze and she had to drink from my bottle.
- If you do have a water bladder on a winter hike, see if you can insolate the bag AND the tube.
- Remember to blow the water back into the bladder every time you drink. This will prevent the tube from freezing. Blow until you hear your air bubbles in your bladder.
- Dress warmly in multiple layers. Its better to have too much than too little. However, sweating in too many layers should also be avoided. Its best to remove layers when moving and add when stopped.
- Wear less layers at the start of your hike as your body heat will warm up causing you to sweat. If you have too much in the beginning, you will sweat too much and loose heat faster.